
How to Build a Concrete Countertop for Outdoor Kitchens | Video
Concrete is a beautiful, durable and versatile material, which is why it’s become so popular for kitchen and bathroom concrete countertops. It provides the high end modern look of marble granite and other premium countertop materials without the price tag. It’s also more dynamic and handles wear and tear, especially outdoors, better than laminate tile and other commodity countertop materials.
As a do-it-yourself-friendly material, concrete gives homeowners the flexibility to make completely unique concrete countertops that fit their style, personality and taste in any shape, size, thickness, color, texture, or configuration.
How to build a concrete countertop
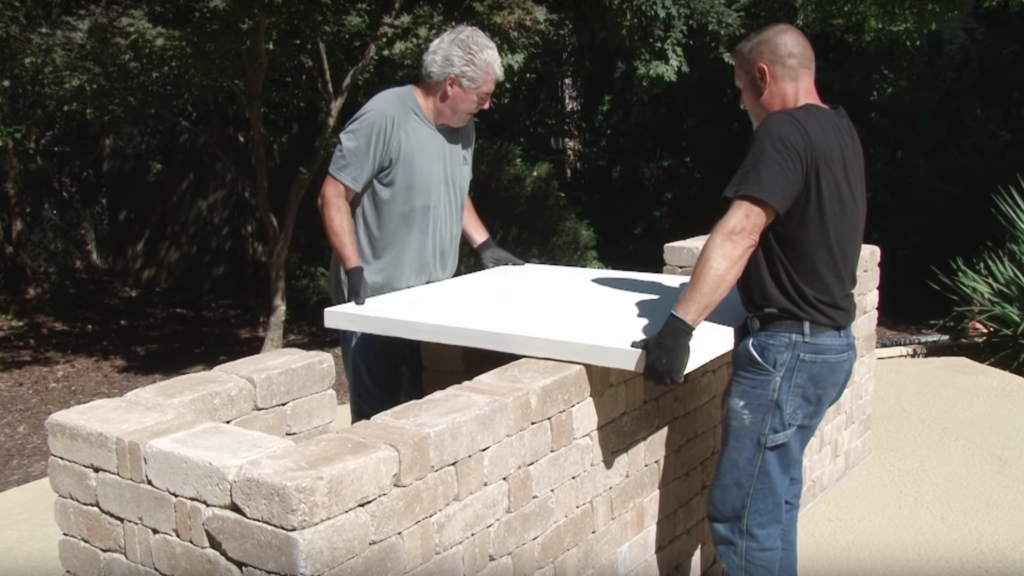
Now to get started, remember that concrete is very heavy, so it’s best to build the countertop in manageable sections that can be easily set in place by a couple people. If your countertop sections are four feet in length or less, steel reinforcement is not necessary.
The best way to achieve a dense smooth surface for your concrete countertops is to use a precast method. In a precast process, the countertops are poured in forms constructed from three-quarter inch melamine coated particle board.
First, confirm the dimensions of the concrete countertop. If the concrete base has a side that will serve as a bar, the countertop should extend six inches beyond the base to allow for stools.
How to build forms for a concrete countertop
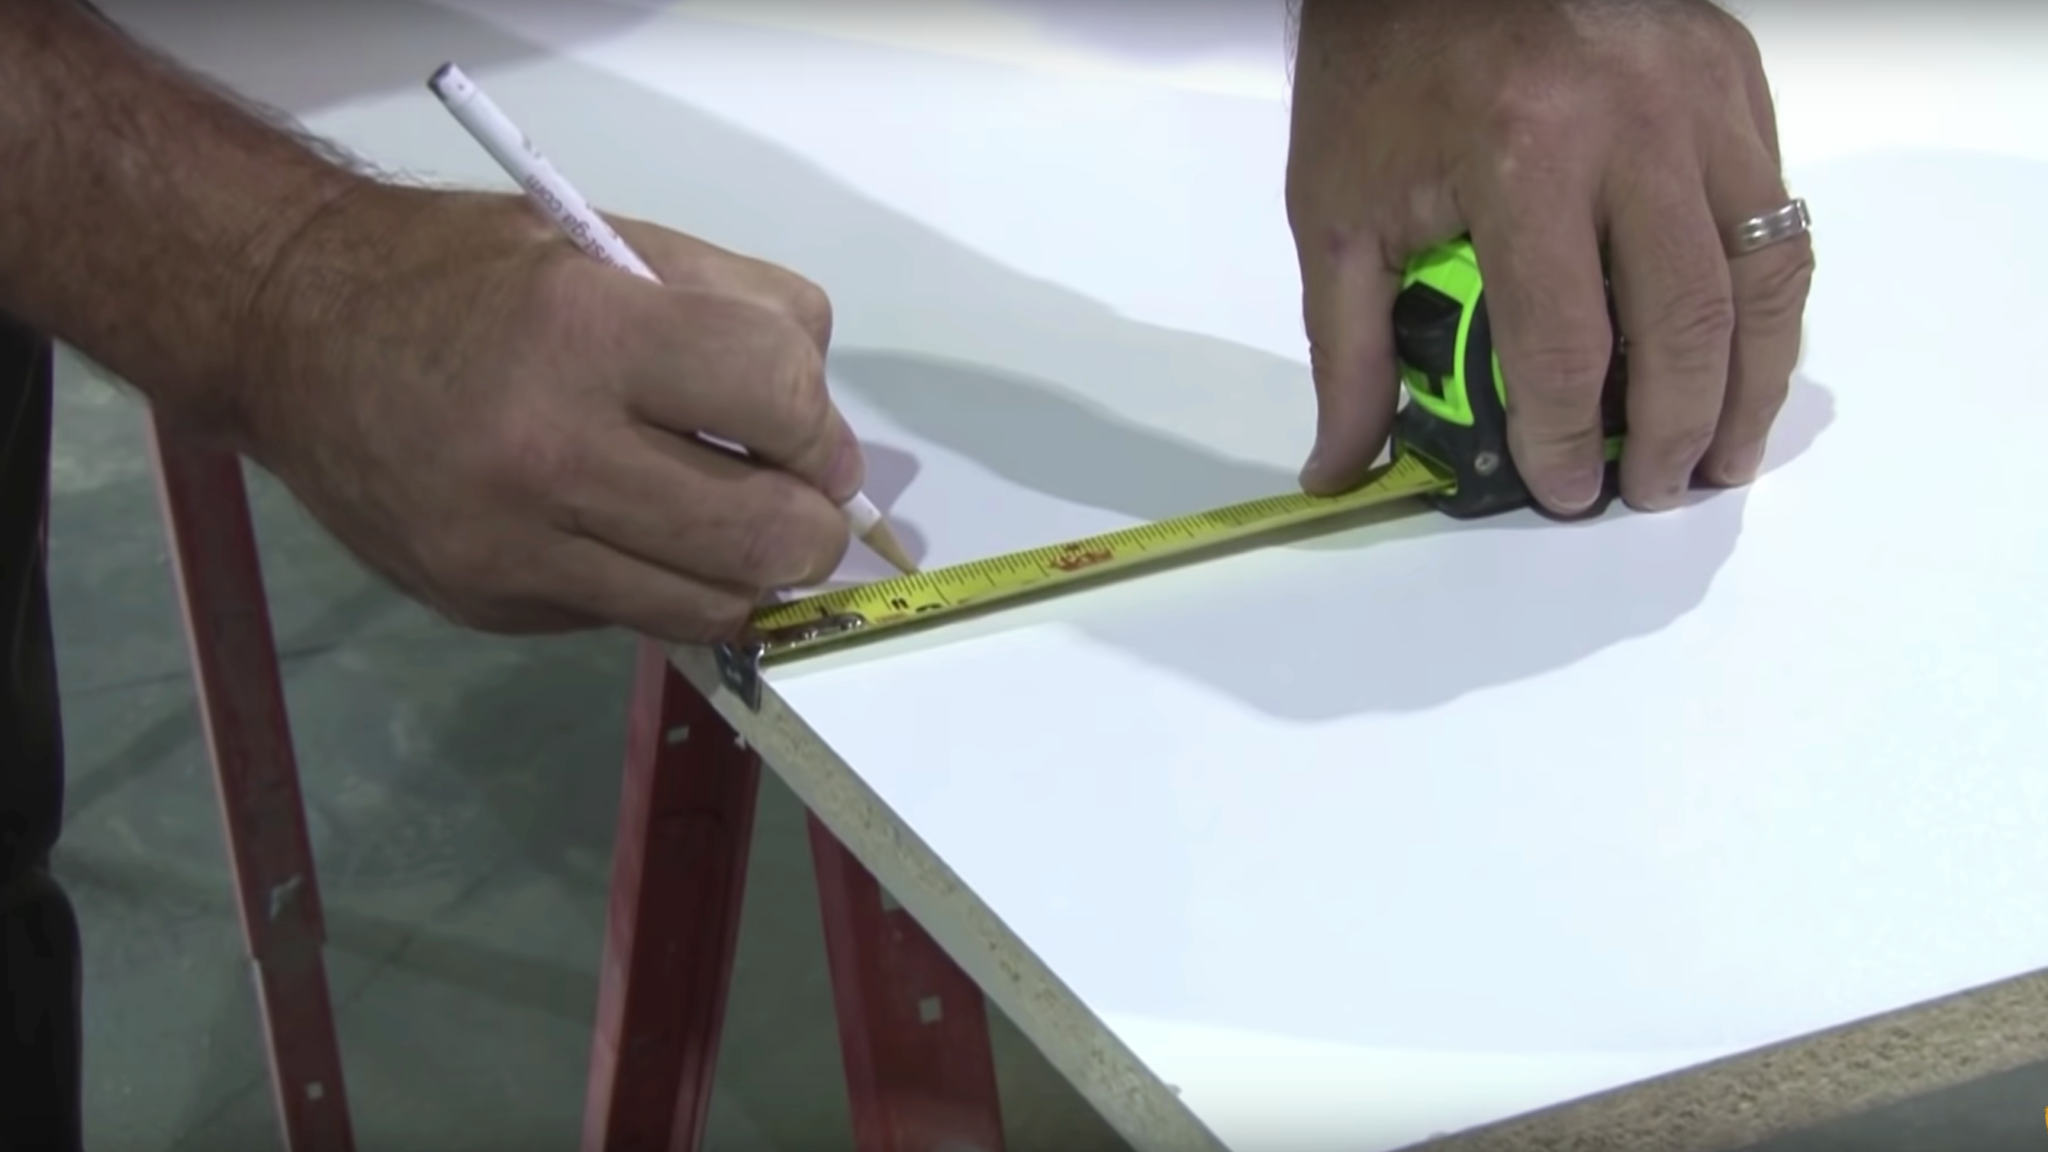
The forms should be designed and constructed in sections so that the weight of completed countertops is manageable. To build your countertop forms, begin by measuring two inch strips of melamine for the form sides to create a two inch thick concrete countertop. Concrete countertops should be a minimum of one and a half inches thick. Using a circular saw with a fine tooth plywood blade, cut along the outside edge of the line. It is important to cut all of the side forms the same way, otherwise, your countertop thickness will vary.
Next, measure and mark the perimeter of the countertop, making sure all corners are square and true. Drill pilot holes every six inches along the length of the side forms. Countersinking the holes will help prevent the melamine from splitting or bulging as the screw head is driven into the form. Then using two and a half inch deck screws, attach the side forms to the base. Make sure the screw head is flush with the top of the form. After your form is assembled, thoroughly clean the form, removing all dust and debris.
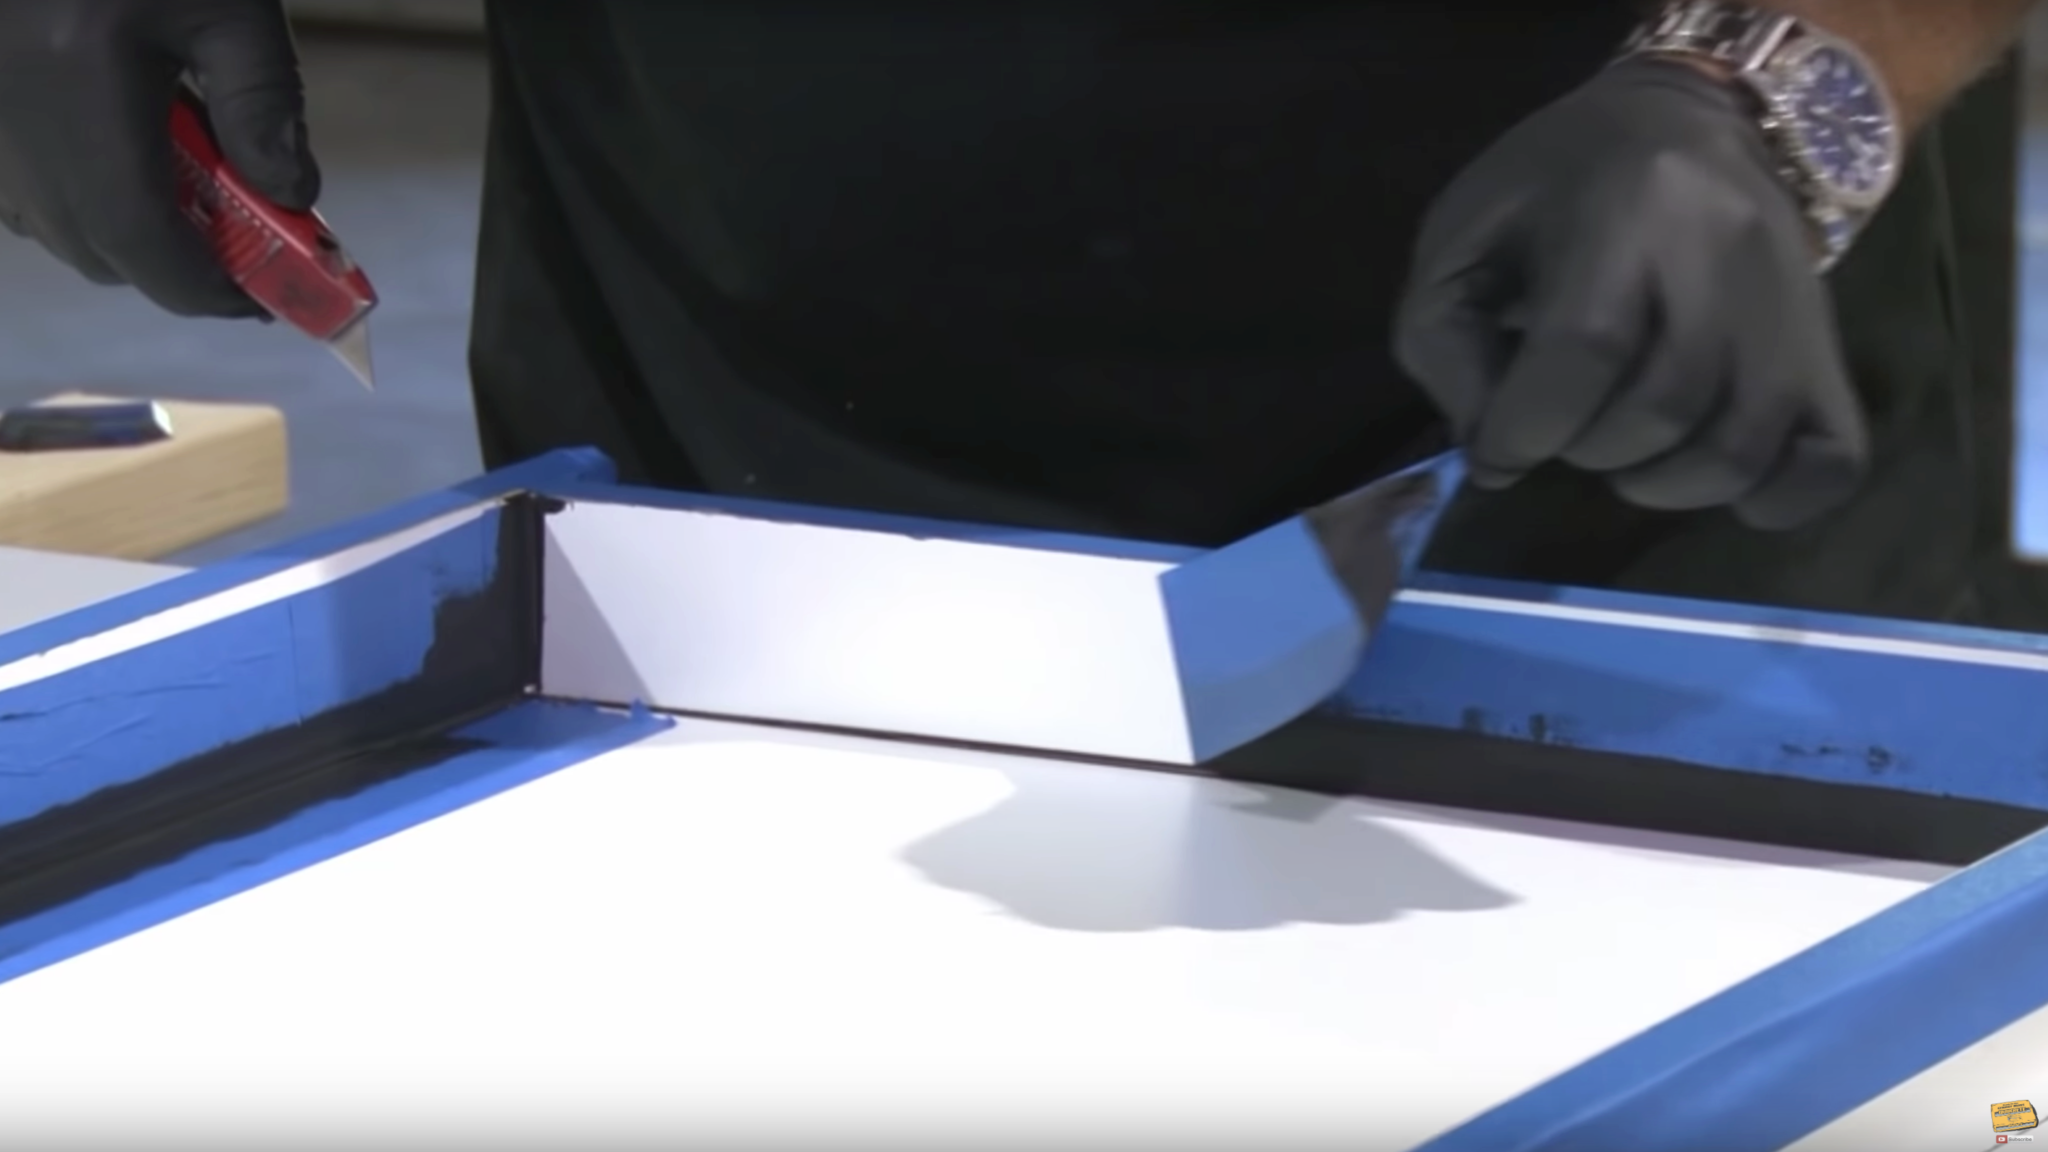
Next, using painter’s tape, mask the base and side of the forms. The tape should be placed about a 16th of an inch away from the inside edges and corners of the form. Then run a thin bead of silicone caulk in all form seams, smoothing and removing excess caulk with a fingertip. Using a black caulk will make it easy to see where the caulk has been applied.
Immediately after applying the caulk, carefully remove the tape. This will create a smooth and consistent rounded edge to the countertop. If you plan to add a sink to the countertop, create a void in the forum by attaching rigid foam in the shape and dimensions of the sink.
How to mix and pour concrete for your countertop
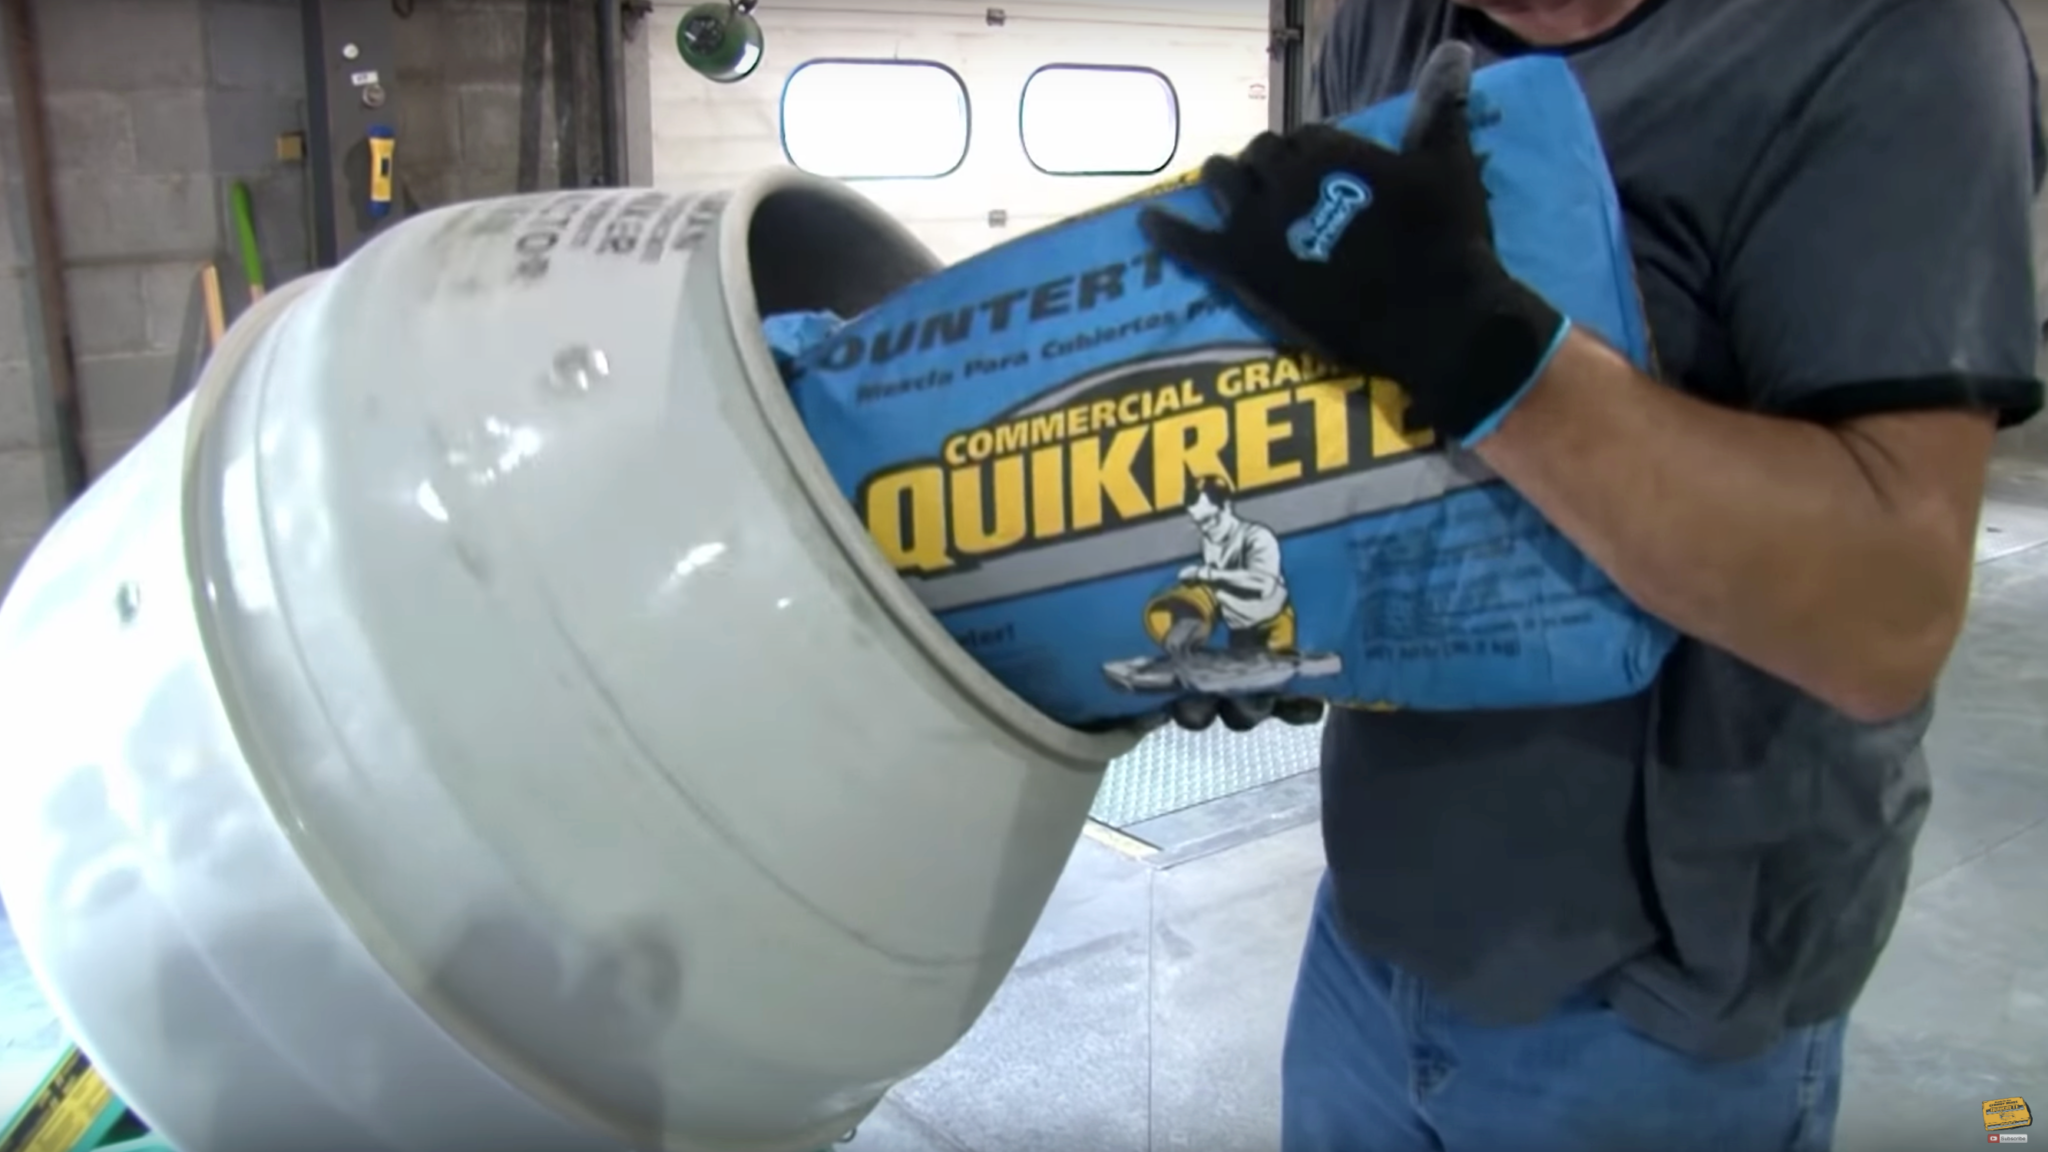
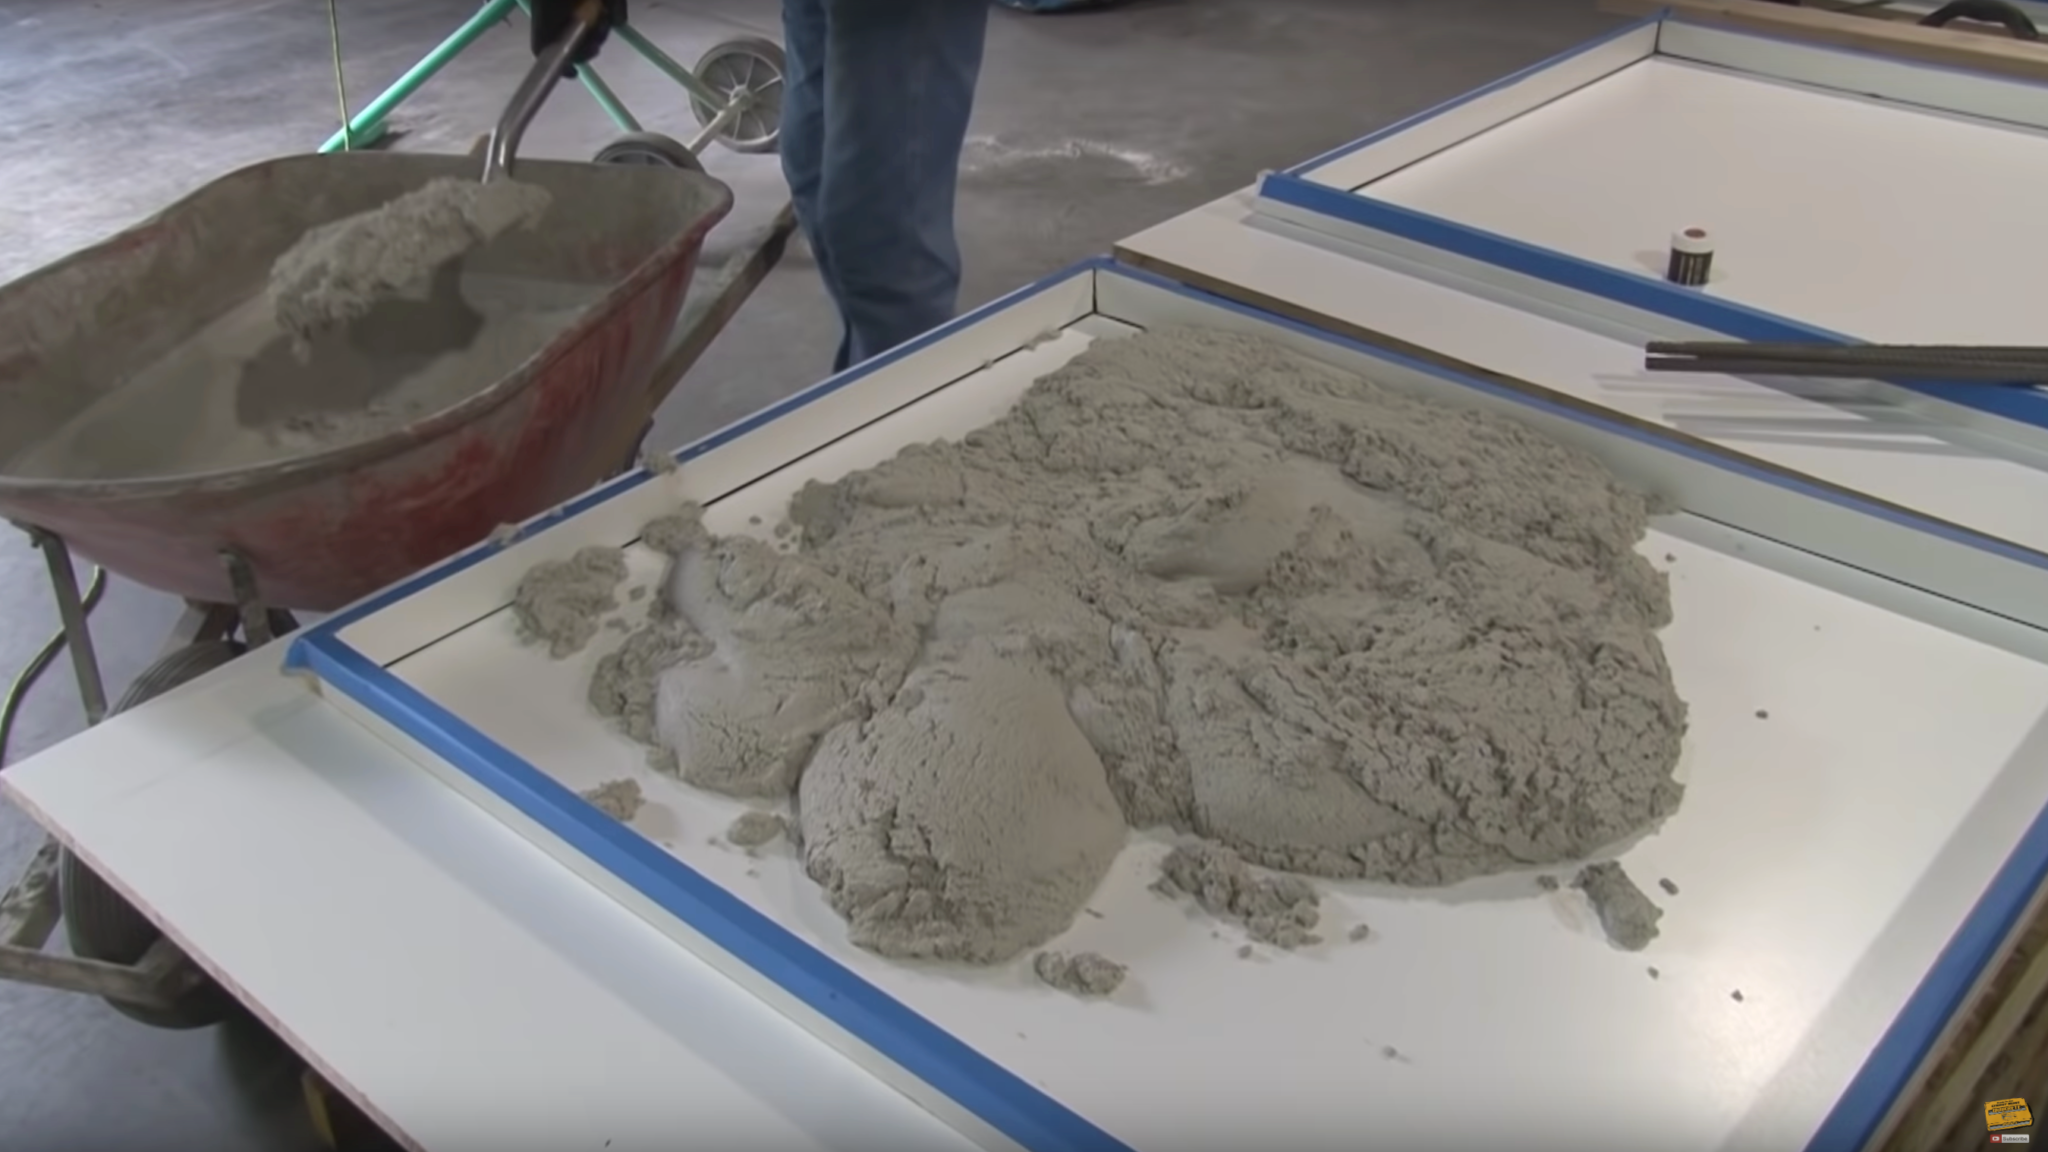
Now the form is ready for the countertop mix, which can be mixed using a standard drum mixer or in a five-gallon pail with a half inch drill mixer and mixer blade. Quikrete countertop mix is designed specifically for countertops. The high density, high strength concrete mix can be removed from the forms in just 18 hours and achieves over 6,000 PSI in 28 days.
Another characteristic that makes countertop mix unique is that it requires very little mechanical vibration to consolidate and densify the mix, which minimizes voids and helps provide a smooth surface. Countertop mix is available in two base colors, gray and tint base white. Gray can be used for a natural gray concrete color and to achieve darker colors with the addition of liquid or dry pigments. Tint base white is designed to be used for an off-white color or mixed with pigments to achieve a lighter color range.
Each bag of countertop mix will require about a gallon of water. The concrete should be mixed for a minimum of five minutes, add additional water sparingly until the desired consistency is achieved. The mix is formulated to perform equally well in a plastic or flowable consistency.
To give the countertop an integral color, liquid cement color can be added to the mixing water before the water is added to the mixer. After mixing, fill the form, working continuously and making sure the mix is consolidated into the corners of the form.

Complete the pour in two equal lifts about one inch deep. Work from the bottom up rather than side to side. This will minimize any surface color variations. If necessary, structural steel should be embedded after applying the first lift. Then continue placing the mix, overfilling the form slightly.
How to get a smooth surface for your concrete countertop
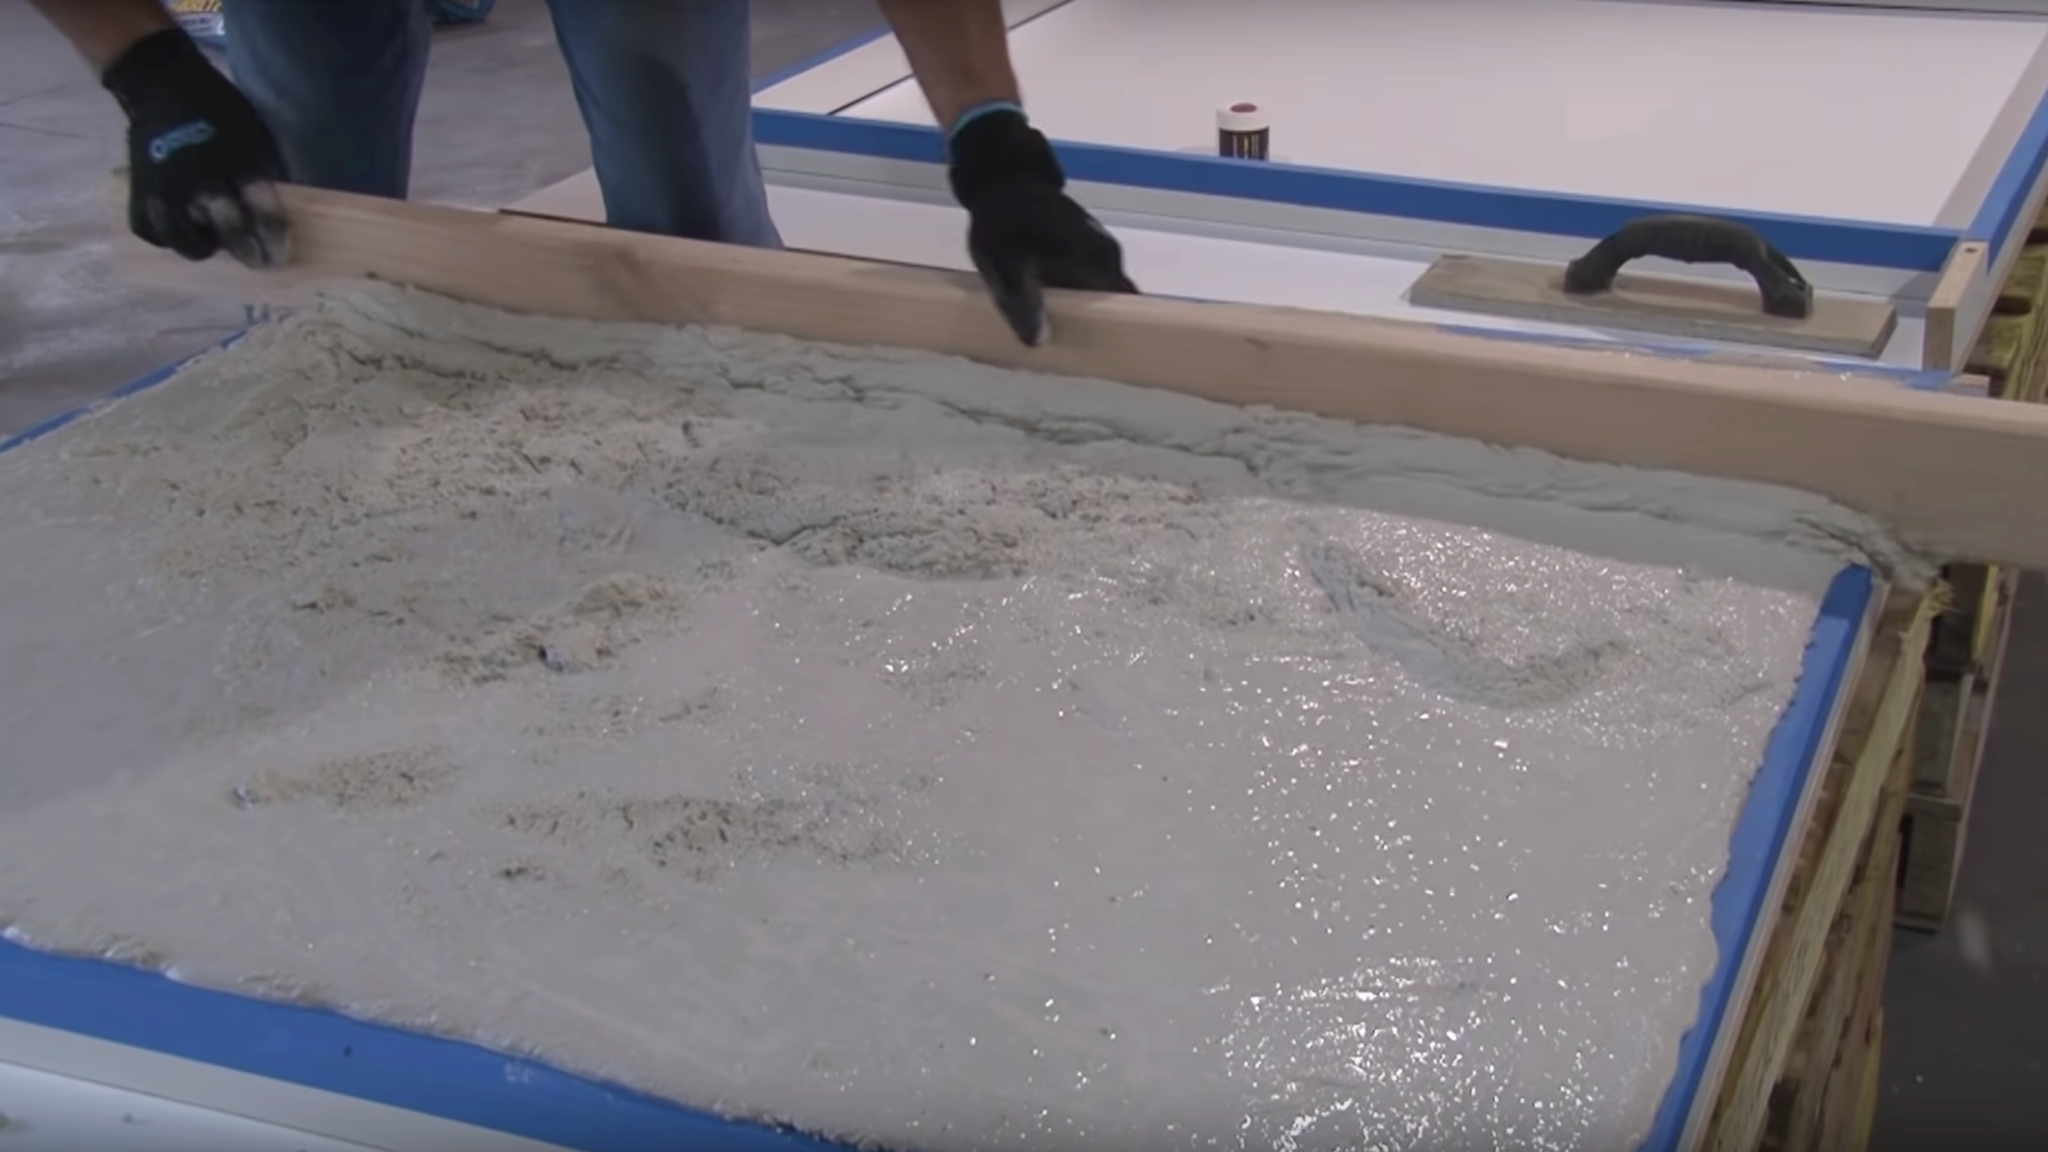
Then, using a two by four or metal straight edge, screed the surface in a sawing motion. You’ll want to do this in both directions several times. Screeding will level what will be the underside of the countertop.
After screeding, use a vibrating palm sander to consolidate the mix and remove air voids that would cause surface imperfections. Another option is to tap the form with a rubber mallet. Once the finishing process is completed, cover forms with plastic sheeting and allow to stand undisturbed for at least 18 hours. Then, remove the screws and carefully dismantle the forms and remove the styrofoam void. At 18 hours, the concrete will be strong enough to flip the countertop.
How to fill holes or voids in a concrete surface
Every countertop contains natural surface variations that make each countertop truly unique. Occasionally, small surface voids can appear. These are caused by air that is trapped during the pouring process.
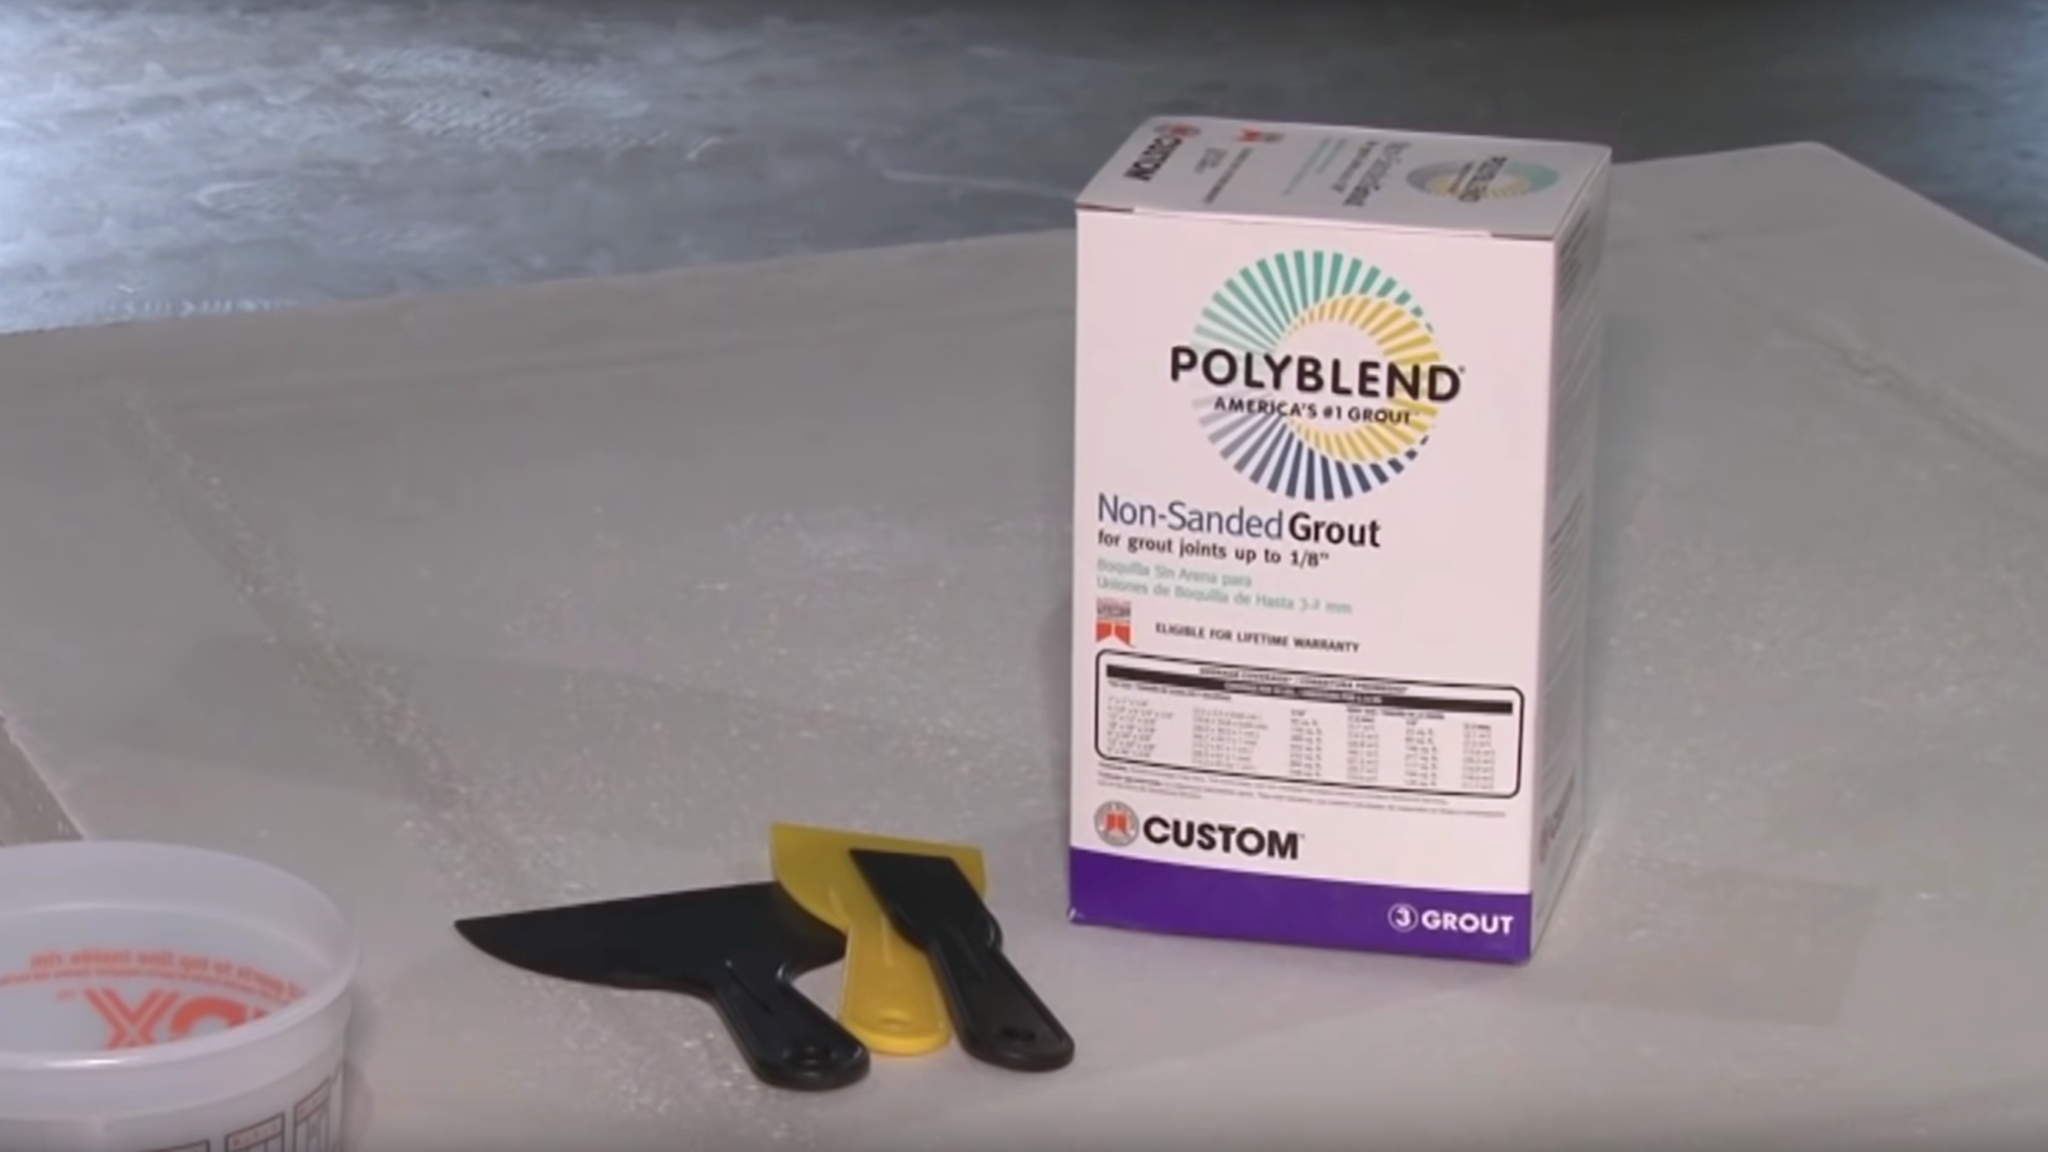
To fill the voids, use Polyblend, polymer modified unsanded tile grout by custom building products. The grout is available in an array of colors that can be used to match or provide contrast to the countertop mix. Simply mix the grout into a slurry consistency and spread back and forth into the voids with a plastic putty knife or sponge.
Allow the Polyblend grout to dry, then use a fine sandpaper to sand the surface edges and sides of the countertop. Once the surface is complete, cover the countertops again with plastic. Be careful not to allow the plastic to come in contact with the countertop surface. This could cause discoloration.
How strong will my concrete countertop be?
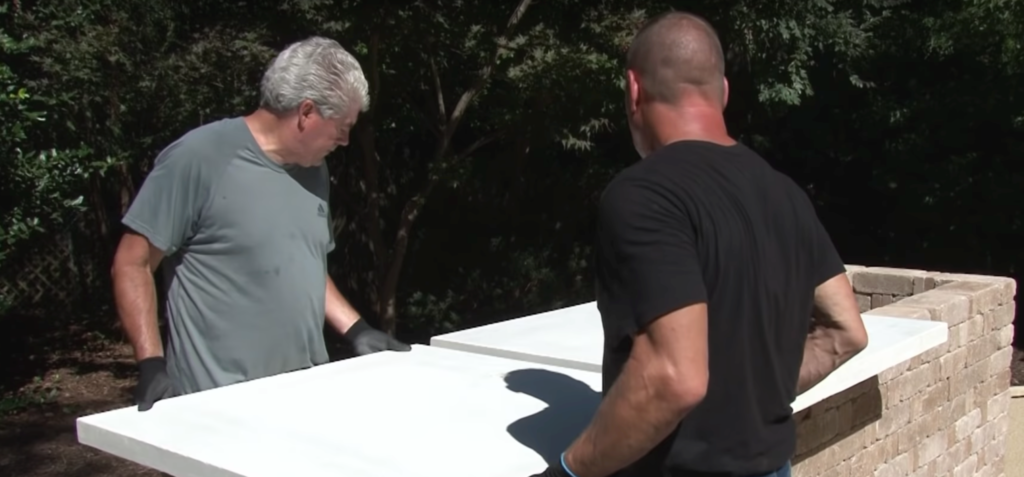
Quikrete countertop mix will reach a compressive strength of 2,000 PSI in 24 hours, and about 3,000 PSI in three days. The countertops can be lifted and placed in as little as one day, but allowing the slabs to remain undisturbed for a few days will minimize the potential for damage while moving and placing the slabs.
Remember, concrete countertops are heavy. Safely moving and lifting the slabs into place will require at least two people. Because the slabs are heavy, no construction adhesive is necessary to hold the countertops in place.
How to seal a concrete countertop
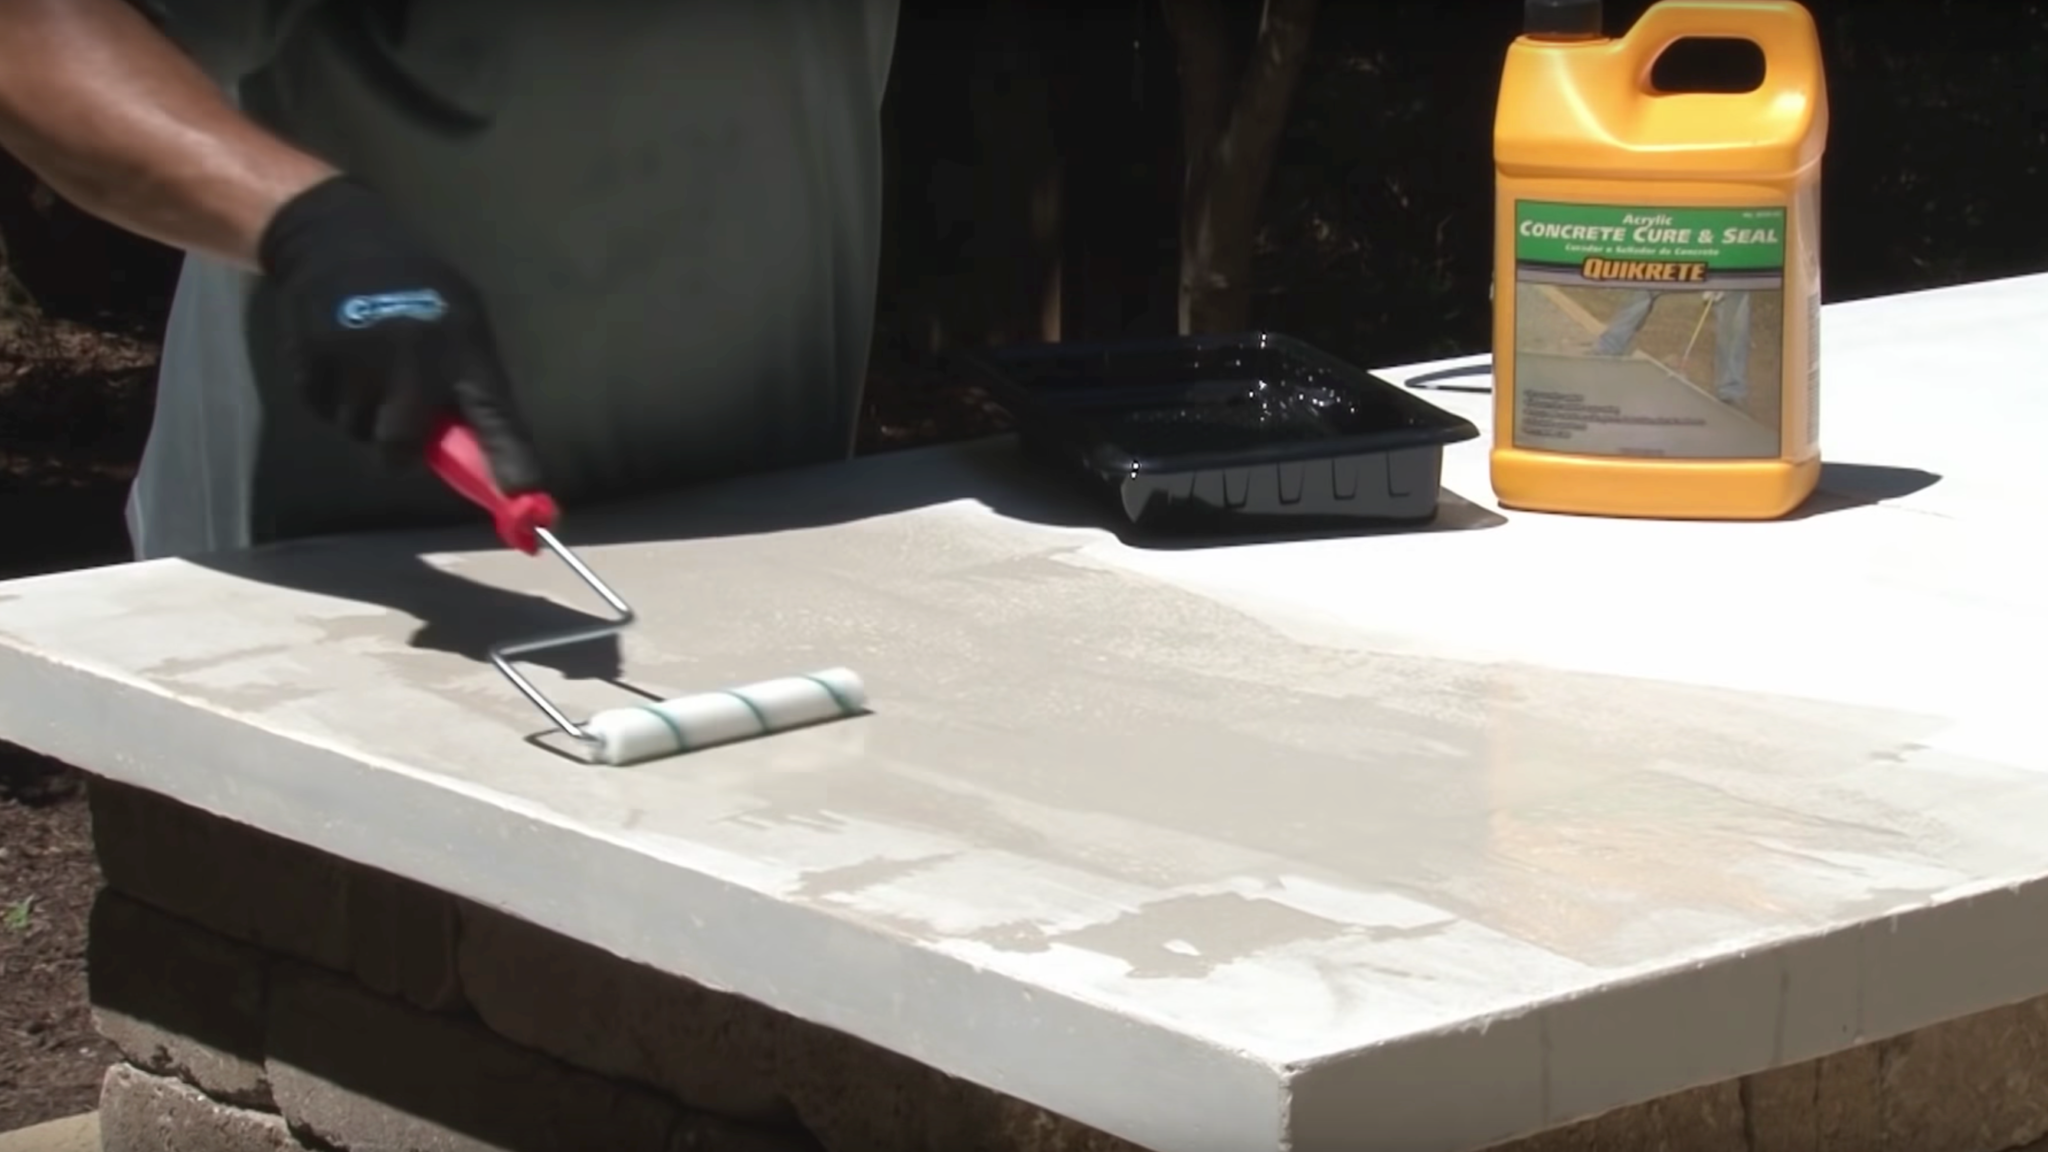
After your countertops are set, it is important to seal the countertops with Quikrete, acrylic concrete Cure and Seal. Acrylic Cure and Seal is a water-based semi-gloss clear acrylic sealer, designed to seal concrete surfaces from water, dirt, oils, grease, and weather for countertops used outdoors. The sealer also enhances the natural surface color. Apply acrylic Cure and Seal evenly across the entire countertop surface and edges. Using a fine nap roller or foam brush.
Finally, install the sink, grill or any other appliances, hardware or amenities according to the manufacturer’s instruction, being sure any plumbing, electrical, or gas services are connected according to proper building codes. Now it’s time for family and friends to enjoy your new concrete countertop.
The post How to Build a Concrete Countertop for Outdoor Kitchens | Video appeared first on The Money Pit.