Whether you’re heading back to school or just want a new piece of office flair, a DIY pencil holder is a perfect addition to any desk. This project is inexpensive and totally personal – and it’s a fantastic gift idea for adults and kids!
Decorate Your Desk With This DIY Pencil Holder
Don’t throw that soup can away just yet! In just a few simple steps, you can transform a tin can into a one-of-a-kind pencil holder. What goes on your pencil holder is totally up to you. So grab your supplies and DIY skills to get started on this DIY pencil holder, just in time for school!
What You'll Need:
- Empty tin can
- Ruler
- Page from your favorite book or magazine
- X-Acto knife
- Cutting mat
- Modge Podge
- Craft sponge (makeup sponges work too!)
- Magazine or photo cutout
How To Make A DIY Pencil Holder:
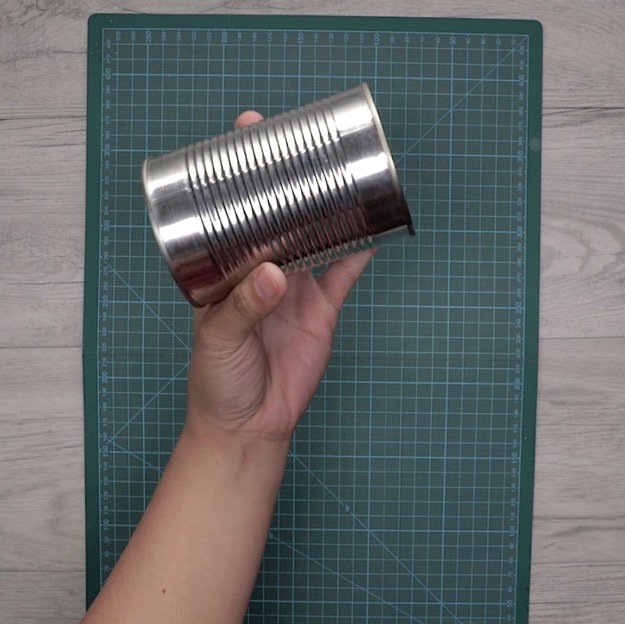
Step 1: Start With An Empty Tin Can

Start with an empty tin can and make sure there are no sharp edges!
Step 2: Measure The Height Of Your Can

Get the height of your can and be as precise as possible! It’ll make the finished product look even better.
Step 3: Measure That Same Length Onto The Page From Your Book

This will be the paper exterior that covers the outside of your can.
Step 4: Use Your X-Acto Knife To Cut Your Paper

Make sure to do this on your cutting board or mat to avoid damage to your tabletop!
Step 5: Coat The Entire Exterior Of Your Can In Modge Podge

Don’t go overboard with the glue, but make sure the can is fully coated.
Collect your soda cans and turn them into these, for the perfect summer money-making racket  #SummerDIY https://t.co/MXWdU3xnul
— DIY Projects (@DIYProjectsCom) July 4, 2017
Step 6: Carefully Wrap Your Paper Around The Can

Press the paper firmly against the can while it dries.
Step 7: Apply More Modge Podge To Where You Want Your Cutout

A thin, even layer of Modge Podge is perfect.
Step 8: Stick On Your Magazine Cutout

Press and hold for a minute or two while it dries.
Step 9: Apply An Overcoat Of Modge Podge

Repeat steps 7-9 if you want to add more photos. Get creative!
Step 10: Enjoy Your Brand New Pencil Holder!

Your DIY pencil holder is now ready to use!
Check out the video below to see this DIY in action!
You probably don't notice, but you're sure to have a few loose pens and paperclips scattered around your desk. But, with this DIY pencil holder, it would be much easier to get them out of the way and keep your desk organized. A frugal project you easily whip in few minutes and the only limit to this is your creativity.
Do you have any other DIY desk ideas? We’d love to hear about them! Leave a comment and let us know!
Up Next: DIY Projector Screen For Your Backyard
Stay connected with us on Facebook, Twitter, Pinterest and Instagram!
Editor’s Note – This post was originally published in September 2016 and has been updated for quality and relevancy.