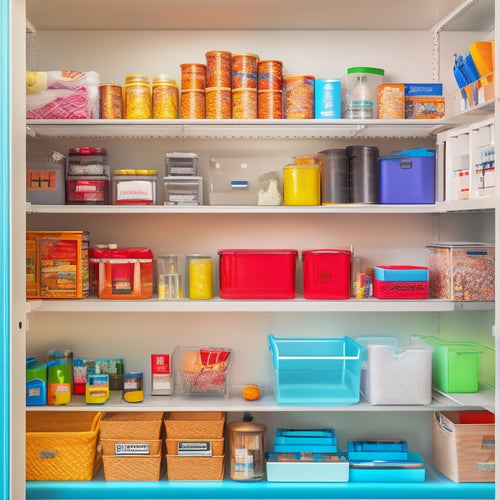
3 Essential Steps to Declutter Your Kitchen Pantry
Share
You're about to transform your kitchen pantry from a cluttered, stressful space into a haven of efficiency and productivity by tackling the three essential steps that will get you there. First, purge and remove unwanted items by sorting them into keep, donate/sell, and discard piles. Be ruthless about getting rid of expired, damaged, or unused items. Next, organize remaining items by category, grouping similar items together, and use label zones and storage bins to keep things tidy. Finally, assign a home for each item, ensuring every item has a designated spot, and implement a labeling system to maintain your new space.
Key Takeaways
• Sort items into keep, donate/sell, and discard piles, being ruthless about expired, damaged, or unused items.
• Categorize remaining items into groups that make sense for your cooking habits, such as grains, baking, or spices.
• Assign a specific shelf, bin, or container to each group, implementing a labeling system to identify storage solutions.
• Use storage solutions like adjustable shelves and stackable bins to maintain a functional and organized pantry space.
• Prevent clutter by ensuring every item has a designated home, and use labels or stickers to mark the contents of each storage area.
Purge and Remove Unwanted Items
Purge and Remove Unwanted Items
Start by pulling everything out of your pantry and sorting items into three piles: keep, donate/sell, and discard, being ruthless about getting rid of expired, damaged, or unused items. This is the perfect opportunity to break old kitchen habits and create a fresh start.
Be honest with yourself - when was the last time you used that can of expired beans or that dusty spice? Get rid of anything that's past its expiration date or no longer serves a purpose. Expired products can be a breeding ground for bacteria and can even affect the taste and quality of your cooking.
Take this chance to assess your kitchen habits and identify areas for improvement. Ask yourself, 'Do I really need this?' or 'Can I replace this with something better?' By letting go of unwanted items, you'll create space for new, healthier options and set yourself up for a more organized and efficient kitchen.
Organize Remaining Items by Category
Now that you've purged your pantry of unwanted items, it's time to categorize what's left into groups that make sense for your cooking habits and needs. This step is essential in creating a functional and organized pantry space.
To get started, think about the types of food and cooking supplies you have, and group them into categories that make sense for you.
Some possible categories to take into account are:
- Grains: pasta, rice, bread crumbs, etc.
- Baking: flour, sugar, baking powder, etc.
- Snacks: nuts, dried fruits, crackers, etc.
- Canned Goods: beans, tomatoes, soups, etc.
- Spices and Herbs: salt, pepper, basil, oregano, etc.
As you categorize your items, think about how you can use Label Zones and Storage Bins to keep each category organized and easy to access. This will help you maintain your newly organized pantry and make cooking and meal prep a breeze.
Assign a Home for Each Item
With your categories established, assign a specific shelf, bin, or container to each group, ensuring that every item has a designated home within your pantry. This will prevent clutter from building up again and make it easier to find what you need.
For instance, designate a shelf for baking supplies, a bin for snacks, and a container for spices.
Implement a labeling system to identify each storage solution, so you can quickly spot where items belong. Use labels or stickers to mark the contents of each shelf, bin, or container. This visual system will help you and others in your household put things back in their assigned home.
Invest in storage solutions that fit your pantry's layout and your needs. Consider adjustable shelves, stackable bins, or turntables to maximize space.
Frequently Asked Questions
How Do I Deal With Expired or Spoiled Food Items I've Found?
When you find expired or spoiled food, you'll want to prioritize Food Safety by discarding them immediately to avoid health risks. Then, focus on Waste Reduction by composting or repurposing what you can, and responsibly disposing of the rest.
What Are Some Creative Ways to Repurpose Old Kitchen Containers?
You'll love repurposing old kitchen containers as vintage chalkboards or rustic shelves to add character to your kitchen. Simply clean, paint, and attach them to a wall or use as a centerpiece to create a unique, cozy space that reflects your personal style.
Can I Donate Gently Used Kitchen Items to Charity?
Just like a warm hug on a cold day, donating gently used kitchen items to charity can bring joy to those in need. You can explore Charity Options like Goodwill or Habitat for Humanity ReStores, following their Donation Guidelines to make a difference.
How Often Should I Declutter and Organize My Kitchen Pantry?
You should aim to declutter and organize your kitchen pantry every 3-6 months for a Seasonal Refresh, helping you stay on track with your Pantry Goals and maintain a sense of control and belonging in your kitchen.
Are There Any Eco-Friendly Alternatives to Traditional Pantry Storage Solutions?
"Just like the Three Musketeers had their trusty swords, you can conquer clutter with eco-friendly allies: opt for Sustainable Shelving and swap traditional bins for Ecofriendly Bins, made from recycled materials or sustainable resources, to create a greener pantry haven."
Related Posts
-

Stockpile Essentials: Must-Have Items for Home
I keep my home stocked with essentials to avoid last-minute trips and guarantee smooth daily operations. I prioritize...
