Crafting the Perfect DIY Picture Frame Ledge
Share
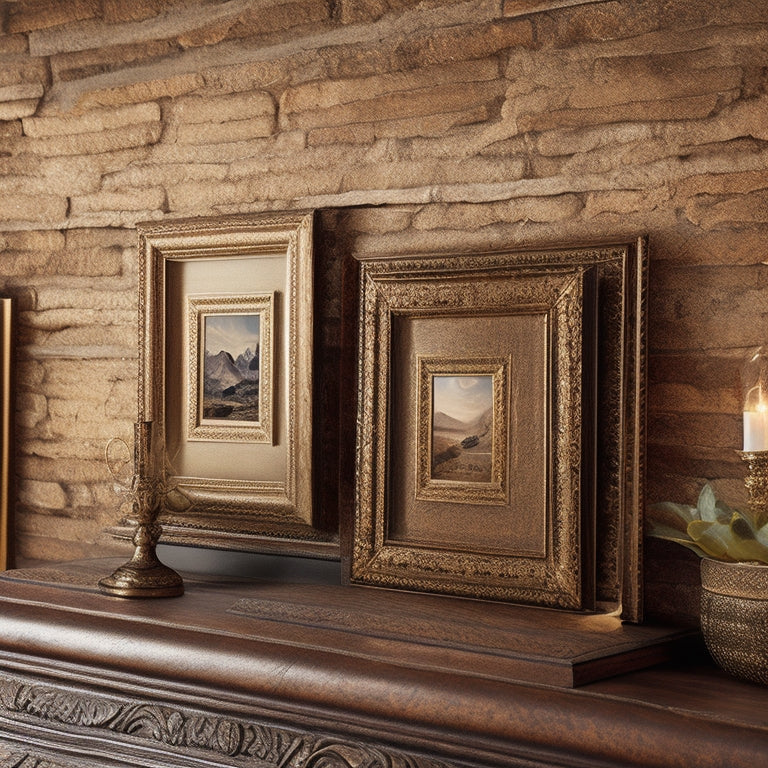
You're on a mission to craft the perfect DIY picture frame ledge that showcases your unique style and cherished memories. First, choose the right materials that fit your budget and complement your home's aesthetic. Then, transform raw wood into a stunning ledge by following careful assembly steps and adding a finish that pops. Guarantee a secure installation by locating wall studs and considering earthquake safety. Now, add personalized elements that reflect your style, from decorative trim to bold colors. As you perfect your ledge, get ready to uncover more inspiring ideas to take your creation to the next level.
Key Takeaways
• Opt for high-quality materials, like Select Pine Board and Common Board, to ensure a sturdy and stylish picture ledge.
• Follow assembly steps carefully, gluing and clamping front and back ledges together, and drilling pilot holes for screws.
• Mount the ledge securely by locating wall studs, drilling pilot holes, and screwing the ledge into place, considering earthquake safety measures.
• Add personalized elements, such as decorative trim or molding, sentimental objects, and bold colors, to reflect your unique style.
• Enhance the ambiance with themed ledges, LED lights, or subtle pastels to create a visually appealing DIY picture frame ledge.
Choosing the Right Materials
When building your DIY picture frame ledge, selecting the right materials is essential, and you'll want to opt for durable and stylish options like Select Pine Board and Common Board, which will provide a solid foundation for your project.
As you plan your material selection, consider your project budget and prioritize quality over cost. You'll also need to decide between paint and stain for the finishing touches. Paint can add a pop of color, while stain can enhance the natural beauty of the wood. Whichever you choose, make sure it complements your home's aesthetic.
Building Your Picture Ledge
With your materials in hand, you're prepared to immerse yourself in the construction phase, where you'll transform raw wood into a beautiful picture ledge that showcases your favorite memories.
Follow the assembly steps carefully, gluing and clamping the front and back ledges together, then drilling pilot holes and screwing the back ledge in place. Finish by hammering the front ledge into position.
As you build, consider design inspiration and how you'll add those finishing touches. Think about painting techniques and hanging tips to guarantee your ledge is both stylish and secure.
With patience and attention to detail, you'll create a stunning picture ledge that's perfect for displaying your cherished photos.
Mounting and Safety Essentials
By carefully locating the wall studs and transferring their locations, you'll guarantee a secure and sturdy installation that can support the weight of your prized possessions.
When it comes to stud locating tips, use a stud finder or knock gently on the wall to identify the studs. Next, mark their locations and drill pilot holes for your screws.
For added earthquake safety, consider using command strips or securing your frames with anti-tip brackets.
Once mounted, perform stability checking by gently tugging on the ledge to confirm it's securely fastened.
Sharing Your DIY Experience
Now that your DIY picture frame ledge is securely mounted, it's time for you to take pride in your handiwork and share your creative experience with others.
You've put in the effort to create a unique and personalized space, so don't be shy about showcasing it! Share photos of your finished project on social media, and don't forget to include your personal touches that make it truly special.
You can also share your experience with others who might be inspired to create their own DIY picture frame ledge. Encourage others to share their project variations, and engage in a community that celebrates creativity and DIY spirit.
Enhancing Your Creation
You've showcased your DIY picture frame ledge, and now it's time to take it to the next level by incorporating personalized elements that reflect your unique style and flair. This is where the magic happens, and your creation transforms into a true reflection of your personality.
To add that extra oomph, consider these creative variations:
-
Adding a decorative trim or molding to give your ledge a distinct edge
-
Incorporating sentimental objects, like family heirlooms or vintage finds, to make it truly personal
-
Experimenting with bold, bright colors or subtle pastels to match your home's aesthetic
-
Creating a themed ledge, like a travel-inspired or nature-themed display
-
Adding LED lights or fairy lights to create a warm, cozy ambiance
Frequently Asked Questions
Can I Use a Different Type of Wood for the Picture Frame Ledge?
'You're not limited to pine or common boards - why not try an exotic species like walnut or reclaimed planks for a unique look? Just verify that the wood is dry, stable, and suitable for your desired aesthetic.'
How Do I Ensure the Ledge Is Level During the Assembly Process?
When assembling, you'll want to make sure your ledge is level; grab a spirit level to double-check, or invest in a laser alignment tool for precise accuracy, guaranteeing a sturdy and secure final product that'll proudly display your treasured frames.
Are There Any Specific Wall Types That Cannot Be Used for Mounting?
'Measure twice, cut once' to guarantee a secure mount. When it comes to wall types, remember that certain surfaces, like hollow or crumbling walls, may require specialized wall anchors to meet load limits, ensuring a safe and sturdy installation.
Can I Add a Glass or Acrylic Front to the Picture Frame Ledge?
You can add a glass or acrylic front to your picture frame ledge for extra protection and style. Glass provides a sleek look, while acrylic offers a shatter-resistant and budget-friendly alternative, both enhancing your display's overall appeal.
How Do I Properly Clean and Maintain the Finished Picture Frame Ledge?
When dusting your newly built picture frame ledge, use a soft, dry cloth to prevent scratches, and for moisture control, wipe with a damp cloth and dry immediately to prevent water spots, ensuring a streak-free shine.
Related Posts
-

Affordable Amazon Home Improvement Must-Haves
You're one step away from a more organized, stylish, and functional living space! Start with must-haves like mDesign'...
-

Revamp Your Under-Sink Setup Like a Pro
To revamp your under-sink setup like a pro, start by evaluating your space and categorizing existing items, taking no...

