DIY Screen Printing Setup: Garage Shop Mastery
Share
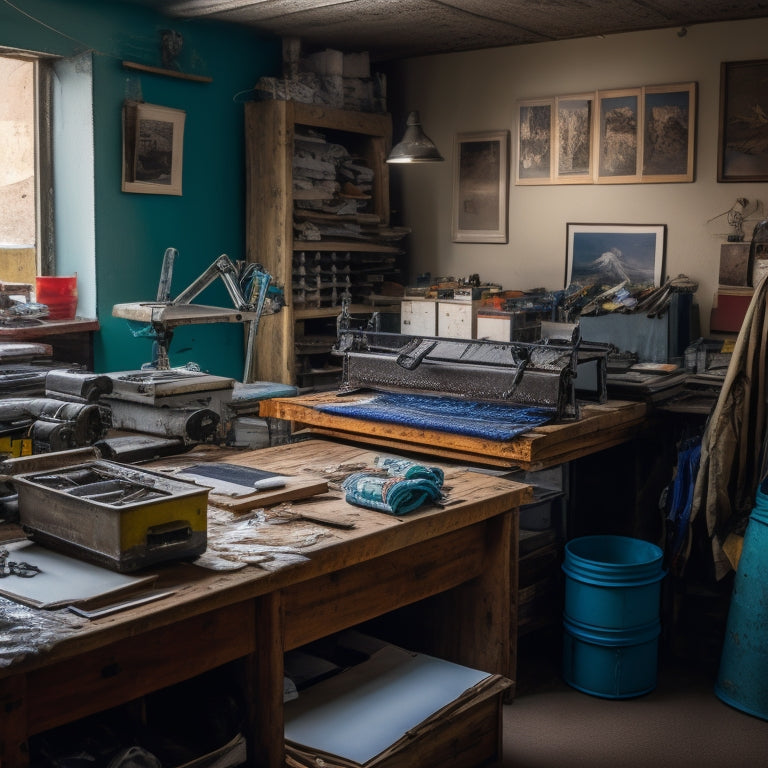
To achieve garage shop mastery in DIY screen printing, a intentional approach is vital. Essential equipment and supplies, such as a press, flash, and exposure unit, must be carefully selected and organized. A well-planned shop layout optimizes workflow, minimizing downtime and enhancing productivity. A functional darkroom with controlled lighting and ventilation guarantees precise exposure and minimizes errors. Troubleshooting common printing issues, such as temperature and humidity fluctuations, is essential. By mastering these fundamentals, you'll be positioned to tap into the full potential of your garage shop setup and produce high-quality prints consistently, paving the way for further refinements and innovations.
Key Takeaways
• Invest in core equipment like press, flash, and exposure unit, and consider building versus buying based on cost analysis.
• Optimize shop layout and workflow by strategically placing equipment, keeping essential items within arm's reach, and assigning tasks to minimize downtime.
• Create a functional darkroom with controlled lighting, good airflow, and efficient utilization of space to ensure precise exposure and minimize errors.
• Monitor and control temperature and humidity levels to maintain ink consistency, prevent common printing issues, and ensure quality prints.
• Utilize online resources, tutorials, and communities to stay updated on the latest trends, techniques, and best practices in DIY screen printing.
Essential Equipment and Supplies
At the core of a DIY screen printing setup lies three essential pieces of equipment: a press, flash, and exposure unit, which form the foundation upon which a functional and efficient screen printing operation is built.
When it comes to acquiring these must-haves, DIY enthusiasts must weigh the pros and cons of building versus buying. A cost analysis can help determine which route is best for your budget.
Furthermore, clever DIY organization and space-saving tips can help maximize your garage shop's potential. Consider investing in a press cart, screen rack, and squeegee rack to keep your equipment tidy and within reach.
Optimizing Shop Layout and Workflow
A well-planned shop layout is essential to a DIY screen printer's productivity, as it enables efficient workflow, minimizes downtime, and maximizes output.
Strategic equipment placement is key, ensuring that frequently used tools are within easy reach. For a one-person setup, keep the printer, shirts, and dryer within arm's reach to streamline the process.
In a two-person setup, assign 'clean' and 'dirty' hands roles to maintain organization. Optimize space based on the number of people working in the shop, utilizing tables and carts for easy access to materials.
Creating a Functional Darkroom
The darkroom, a critical component of the DIY screen printing setup, demands careful consideration to guarantee its functionality and efficiency. A well-designed darkroom guarantees precise exposure and minimizes errors.
To create a functional darkroom, consider the following essential elements:
-
Darkroom lighting: Use yellow lightbulbs or specialized darkroom lighting to prevent over-exposure.
-
Ventilation: Ensure good airflow to remove chemical fumes and moisture.
-
Alternative workspace options: Convert a bathroom, laundry room, or closet into a darkroom for efficient space utilization.
- DIY darkroom setup: Utilize old screens, plastic, and storage bins to create a makeshift darkroom on a budget.
Troubleshooting Common Printing Issues
Six common pitfalls that can compromise print quality are temperature and humidity fluctuations, which affect ink viscosity and emulsion stability, causing issues such as pinholes, uneven ink deposit, and screen damage.
To avoid these mishaps, it's essential to maintain a controlled environment with consistent temperature and humidity levels. This guarantees ink consistency, preventing lumpy or stiff inks that can ruin your prints.
Invest in a thermometer and hygrometer to monitor your shop's conditions. In extreme climate zones, consider using temperature control units or dehumidifiers to regulate the environment.
Advanced Tips and Resources
For seasoned screen printers looking to enhance their craft, delving into featured printers and shop organization tips can offer valuable insights into optimizing workflow and print quality. Explore case studies of successful screen printers, analyzing their techniques and shop layouts to pinpoint areas for improvement in your own setup.
Additionally, stay updated on the latest screen printing news and shop setup guides to stay ahead of the curve.
Here are some advanced resources to take your DIY screen printing setup to the next level:
-
Screen printing communities: Join online forums and social media groups to connect with fellow screen printers, share tips, and learn from their experiences.
-
Shop organization tutorials: Watch videos and read guides on optimizing your garage shop's layout for maximum efficiency and space savings.
-
Screen printing technique tutorials: Explore advanced techniques, such as multi-color prints and specialty inks, to expand your printing capabilities.
- Industry podcasts and blogs: Stay informed about the latest trends, products, and best practices in the screen printing industry.
Frequently Asked Questions
Can I Screen Print With Water-Based Inks in a Humid Environment?
In humid environments, water-based ink screen printing requires careful ink viscosity management to prevent lumpy prints. Employ humid climate considerations by controlling temperature and humidity levels, using dehumidifiers or AC units, and optimizing ink formulas for ideal flow and durability.
How Do I Prevent Screens From Drying Out Between Print Jobs?
"Like a delicate flower, screens need tender care to prevent drying out between print jobs. Store them in a cool, dry place, clean with a gentle touch, and mist with water to keep them hydrated and ready for their next artistic debut."
What's the Ideal Distance Between the Press and Drying Cabinet?
For ideal spacing, position the press and drying cabinet 3-5 feet apart to guarantee seamless workflow efficiency, allowing for effortless shirt transfer and minimizing ink smudging, while maintaining a comfortable working distance.
Can I Use a Household Iron to Cure Screen Prints?
While tempting, using a household iron to cure screen prints is not recommended; iron temperature control is essential, and household irons lack precise heat regulation, posing iron safety risks and potentially damaging prints.
Do I Need a Commercial License to Sell DIY Screen-Printed Products?
Did you know that 77% of small businesses in the US are non-employer firms, like your DIY screen-printing venture? To sell your products legally, you'll need to register your business and obtain necessary licenses, potentially qualifying for tax exemptions, but consult your local authorities for specific requirements.
Related Posts
-

7 Essential Tips for Pot and Pan Storage
You're tired of digging through a cluttered kitchen for the right pot or pan, and frustrated with the scratches and d...
-

Revamp Your Pantry With Dollar Store Hacks
You can transform your pantry from a cluttered disaster zone to a sleek and functional space with just a few trips to...

