Install a Sink Shelf in 5 Easy Steps
You'll start by preparing your sink area, clearing it of personal items, cleaning supplies, and obstructions. Next, measure and mark the wall, considering obstructions like electrical outlets or plumbing fixtures. Then, drill holes and install brackets, prioritizing drill safety and following manufacturer's instructions. After that, attach the shelf to the brackets, ensuring it's level and secure. Finally, add finishing touches like decorative trim or edging. With these 5 easy steps, you'll be well on your way to a more functional and stylish sink area, and with a few more tweaks, you'll be enjoying your new space in no time.
Key Takeaways
• Clear the sink area of clutter and obstructions to ensure a smooth installation process.
• Measure and mark the wall accurately, considering obstructions and wall studs, to ensure a level shelf.
• Drill precise holes and install durable brackets securely, following manufacturer's instructions and safety guidelines.
• Attach the shelf to the brackets, ensuring a perfect alignment and secure fastening without overtightening.
• Add finishing touches, such as decorative trim and accents, to conceal brackets and create a cozy atmosphere.
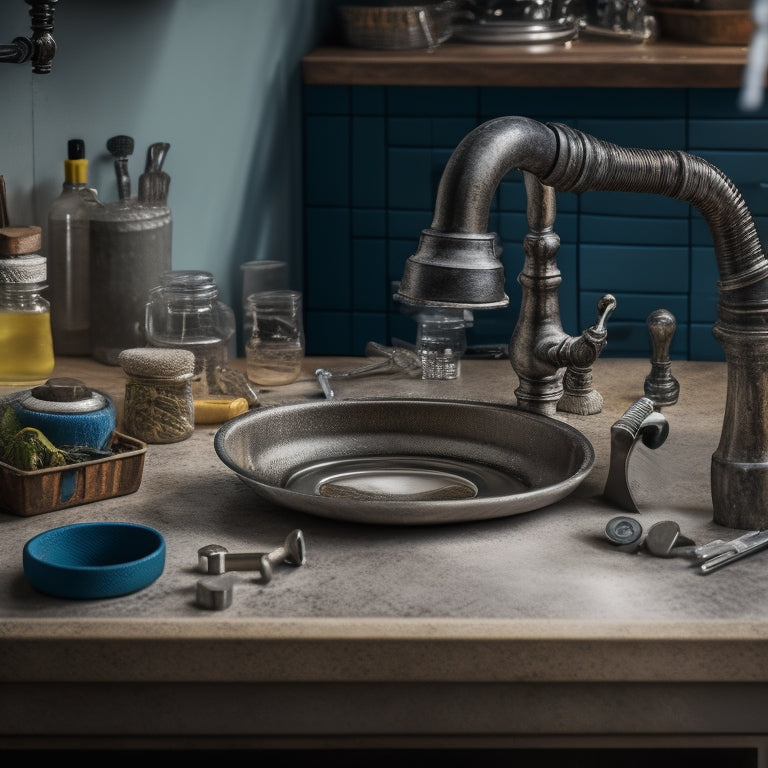
Prepare Your Sink Area
Clear everything off the sink area, including personal items, cleaning supplies, and any other obstructions, to give yourself a clean slate for the installation process. This is the first step in preparing your sink area for the new shelf.
Remove any clutter, such as toothbrushes, toothpaste, and soap, and store them temporarily in a nearby cabinet or on a countertop.
Next, take out the trash and recyclables, and wipe down the sink area with a damp cloth to remove any dirt or grime.
Measure and Mark the Wall
With your sink area now clutter-free and clean, turn your attention to the wall above the sink, where you'll need to measure and mark the spot for your new shelf. Take out your tape measure and hold it level against the wall, making sure it's straight and even.
Measure the width of your shelf and mark the spot where you want to install it. Be sure to consider any obstructions, such as electrical outlets or plumbing fixtures.
Next, use a stud finder to locate the wall studs behind the drywall. You'll want to install your shelf brackets into these studs for maximum support. Mark the spot where the stud is located with a small pencil mark.
Then, use a level to draw a level mark along the wall, ensuring your shelf will be straight and even. This mark will act as a guide when you're drilling holes for your brackets. Take your time and double-check your measurements to guarantee accuracy.
With your marks in place, you're ready to move on to the next step.
Drill Holes and Install Brackets
You'll need to drill precise holes in the wall to install the shelf brackets, so grab your drill and a sharp bit. Make sure to use the correct drill bit size for the type of wall anchors you've chosen. For example, if you're using plastic wall anchors, a 1/8-inch drill bit will work well. Always prioritize drill safety by wearing safety glasses and keeping loose clothing tied back.
Next, locate the marks you made on the wall earlier and drill holes at each spot. Hold the drill straight and level to guarantee the holes are even. If you're working with a tile or glass wall, consider using a diamond-coated drill bit to prevent damage.
Now, it's time to install the brackets. Choose brackets made from durable materials, such as stainless steel or aluminum, to make sure they can hold the weight of your sink shelf. Follow the manufacturer's instructions to attach the brackets to the wall anchors. Make sure they're securely fastened to support your shelf.
Attach the Shelf to Brackets
Place the shelf onto the brackets, making sure its edges align perfectly with the bracket's lip, and then secure it using the screws or clips provided with your shelf or bracket kit. Make certain the shelf is level and even, as this will impact the overall appearance and functionality of your sink shelf.
Next, double-check that the shelf materials, such as glass or wood, are compatible with the bracket designs. Some brackets may require specific types of shelves, so it's crucial to verify this before proceeding. If you're using a glass shelf, for instance, make sure the brackets are designed to hold the weight of the glass.
Once you've confirmed the compatibility, tighten the screws or clips firmly to secure the shelf in place. Be cautious not to overtighten, as this can damage the shelf or bracket.
Take a step back to admire your handiwork and make any necessary adjustments. Your sink shelf is now taking shape, and with these brackets securely in place, you can proceed to the next step with confidence.
Add Finishing Touches
Now that your sink shelf is securely in place, add the finishing touches by installing any decorative trim or edging to conceal the brackets and create a seamless look. This is where you get to add your personal style to the sink shelf. Choose decorative accents that complement your bathroom's aesthetic, such as sleek metal trim or ornate wooden edging. Apply these finishes following the manufacturer's instructions to guarantee a secure and durable fit.
Next, focus on styling tips to maximize the functionality and visual appeal of your sink shelf. Consider adding a decorative basket or container to store small bathroom essentials, like toothbrushes or Q-tips.
You can also incorporate a few well-placed decorative accents, such as a small vase or a framed photo, to create a cozy and inviting atmosphere. By adding these finishing touches, you'll create a sink shelf that not only provides extra storage but also reflects your personal taste and style.
Frequently Asked Questions
Can I Install a Sink Shelf Above a Pedestal Sink?
You can install a sink shelf above a pedestal sink, but be mindful of pedestal constraints. As space savers, shelves can work wonders, but measure carefully to guarantee a secure, functional fit that complements your sink's unique design.
Are Sink Shelves Compatible With All Types of Countertops?
"Think of your countertop as a puzzle, and the sink shelf as a custom-fit piece. You'll find sink shelves compatible with most countertop materials, but for unique ones, custom fabrication might be the perfect solution, ensuring a seamless fit that makes you feel like a homeowner mastermind."
Can I Use a Sink Shelf to Store Heavy Objects?
You'll want to check the sink shelf's load capacity and material strength before storing heavy objects. If it's made of durable materials like stainless steel or solid wood, you can likely store heavier items, but always follow the manufacturer's guidelines.
Will a Sink Shelf Obstruct the Faucet's Water Flow?
'You won't turn your faucet into a miniature geyser, but you should consider the water pressure and faucet design to make sure your sink shelf doesn't obstruct the flow - a little planning goes a long way!'
Can I Paint or Stain My Sink Shelf to Match My Decor?
You can totally customize your sink shelf to fit your style! You'll have design flexibility to choose from various color options, and you can paint or stain it to match your decor, making it blend seamlessly with your space.
Related Posts
-
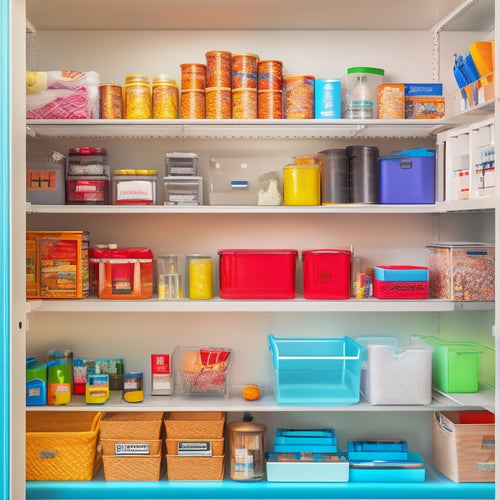
Stockpile Essentials: Must-Have Items for Home
I keep my home stocked with essentials to avoid last-minute trips and guarantee smooth daily operations. I prioritize...
-

Deighton Associates Awarded for Excellence in Asset Management
You're likely curious about Deighton Associates' recent recognition for excellence in asset management. They've recei...

