Revamp Your Under Sink Storage Space Today
Share
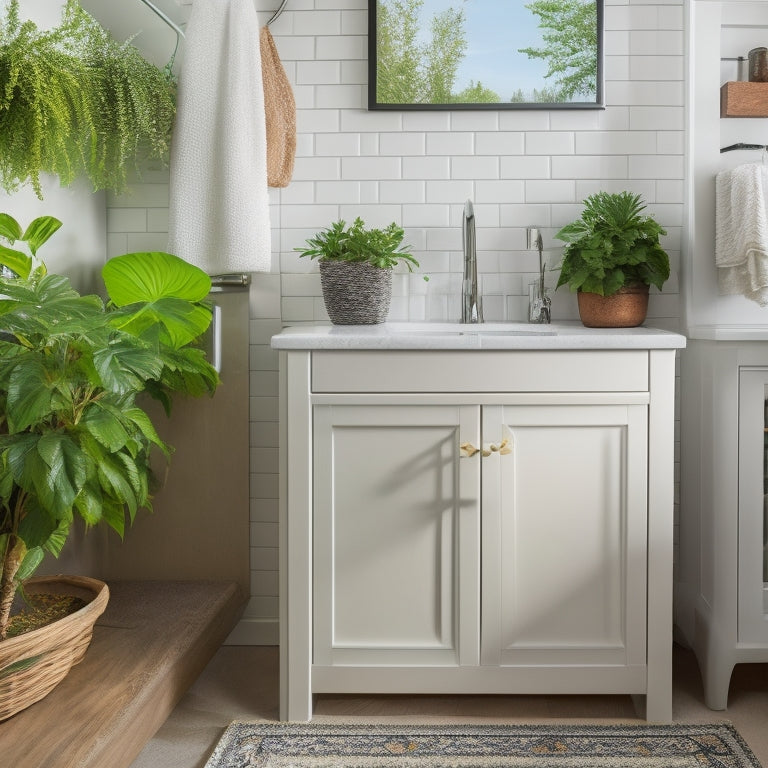
I've revamped my under sink storage space to maximize functionality and eliminate clutter. To start, I cleared out the area, sorted items into "keep" and "discard" piles, and took precise measurements to customize storage solutions. Next, I built custom shelving using 3/4-inch plywood and added pull-out trays for maximizing space. I prioritized tray organization, opting for DIY construction and varying heights for accessibility. After assembling and installing the trays, I finished and secured the space with water-based polyurethane and sturdy screws. Now, I'm ready to share my step-by-step process with you - let's get started on transforming your under sink storage space!
Key Takeaways
• Clear out the under sink area, sorting items into 'keep' and 'discard' piles, and take precise measurements of cabinet dimensions.
• Build custom shelving solutions using 3/4-inch plywood, adding birch edge banding and drill holes for shelf pins for adjustability.
• Incorporate pull-out trays for maximizing space, prioritizing tray organization and space optimization, and design trays with varying heights for accessibility.
• Assemble and install trays following a step-by-step process, optimizing tray organization for maximum storage and attaching drawer slides for smooth gliding.
• Finish and secure the space with a water-based polyurethane finish, sturdy screws, and brackets for added support and smooth operation.
Prepare the Under Sink Area
I begin by clearing out the under sink area, removing all items and sorting them into 'keep' and 'discard' piles to free up space and get a sense of what I need to store. This decluttering process allows me to focus on space optimization and organization.
Next, I take precise measurements of the cabinet dimensions, including the door opening width and usable depth. This information is essential in determining the most effective storage solutions for the area. By doing so, I can customize my storage solutions to fit the available space, ensuring maximum utilization and ease of access.
With a clear understanding of the space, I can now move forward with designing and building the perfect storage solutions for my under sink area.
Build Custom Shelving Solutions
With precise measurements in hand, building custom shelving solutions begins with selecting the right materials, specifically 3/4-inch plywood, to create manageable pieces that fit the under sink area's unique dimensions.
I guarantee the plywood is cut into manageable pieces, making it easier to construct the shelving units. For a polished look, I add birch edge banding to the shelves. To allow for adjustability, I drill holes for shelf pins.
With the shelves constructed, I securely attach them to the cabinet, increasing storage space and improving shelving organization. By building custom shelving solutions, I've created a DIY storage solution tailored to my under sink area's specific needs, making it easier to access and store essential items.
Create Pull-Out Trays for Storage
By incorporating pull-out trays into your under sink storage design, you can maximize the often-wasted space behind the sink cabinet doors and create easy access to stored items.
As I design my pull-out trays, I prioritize tray organization and space optimization. I opt for DIY tray construction, focusing on functional design that suits my needs.
For a full-width tray, I create a mounting insert and construct the tray using plywood and edge banding.
For a small tray, I design it with varying heights for accessibility and use a combination square for precise layout.
Assemble and Install Trays
Organization meets precision as I prepare to assemble and install the pull-out trays, carefully following a step-by-step process to guarantee a seamless integration into my under sink storage space.
I start by assembling the trays, making sure tray organization is optimized for maximum storage capacity. Next, I attach the drawer slides to the mounting inserts, taking care to secure them properly to prevent any accidents. I then carefully place the trays into the cabinet, ensuring they glide smoothly and effortlessly.
Throughout the tray installation process, I double-check my work to confirm everything is level, secure, and functional. With the trays in place, I can now enjoy a clutter-free under sink area that's both aesthetically pleasing and safe to use.
Finish and Secure the Space
I apply a water-based polyurethane finish to the shelves and trays to protect them from moisture and spills, while also adding a subtle sheen to the wood. This finish not only enhances the aesthetic appeal but also ensures the durability of the storage space. To secure the shelving, I attach the trays to the cabinet using sturdy screws, making sure they can hold the weight of the items stored.
| Secure Shelving Options | Stylish Finishes |
|---|---|
| Attach trays to cabinet using screws | Water-based polyurethane finish |
| Use sturdy brackets for added support | Satin finish for a subtle sheen |
| Install drawer slides for smooth operation | Clear coat for a protective layer |
Frequently Asked Questions
Can I Use MDF Instead of Plywood for the Shelves?
"When considering MDF over plywood for shelves, I weigh moisture resistance concerns, as MDF absorbs water, against budget concerns, as it's often cheaper. For under-sink storage, I'd opt for plywood for added durability and safety."
How Do I Deal With Pipes and Plumbing Under the Sink?
'When dealing with pipes and plumbing under the sink, I guarantee pipe concealment by measuring and cutting shelves around them, and protect against water damage by applying a waterproof coating and sealing any gaps.'
What Kind of Edge Banding Is Best for a Rustic Look?
Like a master painter selecting the perfect brush, I choose edge banding that screams rustic charm - think reclaimed wood or distressed finishes that add a weathered look to my under sink shelves, ensuring a harmonious blend of form and function.
Can I Paint the Shelves and Trays Instead of Using Poly?
I can definitely paint my shelves and trays instead of using poly for a unique look. I'll choose from various color options and finish types, ensuring a durable, safe, and stylish result that fits my rustic vibe.
Are Soft-Close Drawer Slides Worth the Extra Cost?
Like a gentle stream, my drawers glide open with soft-close slides, ensuring a smooth operation that's worth the extra cost; I prioritize safety and convenience, avoiding sudden slams that could shatter dishes or injure fingers.
Related Posts
-

Boost Productivity With Free Google Sheets Templates
You can enhance your productivity exponentially by utilizing free Google Sheets templates, which offer a proven way t...
-

Revolutionize Your Kitchen With Clever Organizers
I've streamlined my kitchen by incorporating clever organizers that have transformed the way I cook and live. By maxi...
-

Revamp Your Kitchen Storage With These Tips
A well-organized kitchen storage system is essential to a clutter-free and functional cooking space. To enhance your ...


