Revamped Cabinet Shines With Chic Makeover
Share
A revamped cabinet shines with a chic makeover when attention is given to detail. Establish a clear vision, assess the structure, and focus on paint techniques for visual appeal. Consider a distressed finish, bold contrasting color, or high-quality hardware that complements the cabinet's style. By incorporating stenciling, glazing, and decorative elements, a shabby cabinet can transform into a stunning focal point exuding luxury and refinement. With careful planning and execution, the revamped cabinet emerges as a masterpiece of elegance, creating a soothing ambiance that elevates the entire room. Discover how to achieve this stunning transformation.
Key Takeaways
• Establish a clear vision for the cabinet makeover to ensure a cohesive, chic design.
• Use high-quality paint and hardware to achieve a sophisticated, refined look.
• Consider incorporating distressed finishes, stenciling, and glazing for added visual interest and depth.
• Upgrade hardware to add functionality and sophistication, such as soft-close drawers and ornate knobs.
• Pay attention to every detail, from color palette to textures, to create a harmonious, luxurious whole.
Cabinet Makeover Essentials
When initiating a cabinet makeover, it is important to establish a clear vision and prioritize the essential elements that will transform your mundane storage space into a stunning focal point.
A well-planned makeover begins with a thorough assessment of the cabinet's structure, ensuring its safety and functionality.
Next, focus on the aesthetic aspects, such as paint techniques that can elevate the cabinet's visual appeal. Consider applying a distressed finish or a bold, contrasting color to create a striking look.
Additionally, hardware choices play a critical role in the makeover's success. Opt for high-quality, stylish hardware that complements the cabinet's style and guarantees smooth operation.
From Shabby to Chic Transformation
With a solid foundation of cabinet makeover essentials in place, the next step is to transform the space from drab to dramatic by incorporating decorative elements that exude a shabby chic charm. This is where the magic happens, and your cabinets go from bland to grand.
| Technique | Description | Effect |
|---|---|---|
| Distressing | Apply paint, then sand to create a worn look | Adds vintage charm |
| Stenciling | Use stencils to add decorative patterns and designs | Adds visual interest |
| Glazing | Apply a tinted glaze over paint for a soft, subtle sheen | Adds depth and sophistication |
To complete the look, swap out modern hardware for vintage hardware that adds a touch of nostalgia. With these elements in place, your cabinets will exude a shabby chic charm that's both beautiful and safe.
DIY Cabinet Refurbishment Tips
Ursula's favorite DIY cabinet refurbishment tip is to prime the surface before painting to guarantee a smooth, even finish that showcases every detail of the design. This essential step ensures a professional-looking result and prevents paint from peeling off prematurely.
When it comes to painting techniques, use a high-quality roller or brush to achieve a uniform coat. For a distressed look, lightly sand the surface before applying a second coat.
To elevate the overall aesthetic, consider hardware upgrades such as stylish knobs or handles. Not only will they add a touch of sophistication, but they will also improve the cabinet's functionality.
Chic Cabinet Design Inspiration
The symphony of textures, colors, and shapes in a chic cabinet design can transform a mundane kitchen or bathroom into a visually stunning retreat, where every detail whispers elegance and sophistication.
| Design Element | Inspiration |
|---|---|
| Elegant Storage | Soft-close drawers, ornate hardware, and creamy whites evoke a sense of refinement |
| Cottage Charm | Distressed finishes, vintage hardware, and worn woods create a cozy, rustic ambiance |
| Textured Accents | Natural stone, woven baskets, and woven textiles add depth and visual interest |
| Sophisticated Hues | Rich jewel tones, metallic accents, and bold patterns create a dramatic, high-end look |
After the Makeover: The Reveal
Transformed by a symphony of design elements, the revamped cabinet emerges as a masterpiece of elegance, its every curve and line a proof of the power of thoughtful renovation.
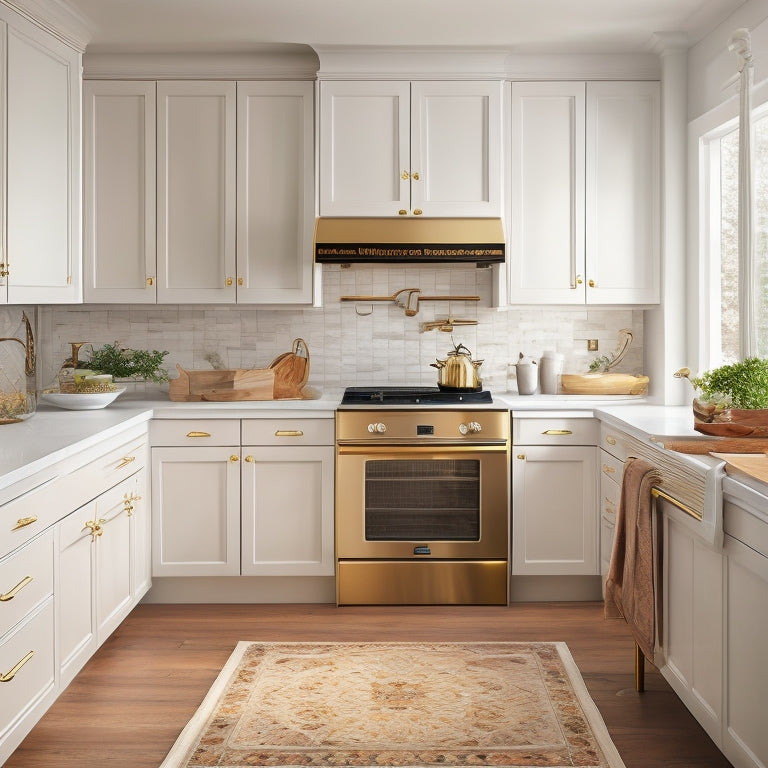
The newly curated color palette, a soft blend of creamy whites and warm woods, creates a soothing ambiance that invites calmness and serenity.
The hardware selection, a thoughtful mix of polished nickel and matte black, adds a touch of sophistication and refinement.
Every detail, from the subtle graining of the wood to the delicate curves of the handles, has been carefully considered to create a harmonious whole.
The result is a cabinet that not only functions with ease but also becomes a stunning focal point in the room, exuding a sense of understated luxury and refinement.
Frequently Asked Questions
Can I Use Chalk Paint on My Cabinet Without Sanding?
When considering chalk paint on cabinets without sanding, prioritize paint adhesion by ensuring a clean surface. Invest in high-quality brushes to prevent streaks and unevenness, ensuring a smooth, durable finish that's both beautiful and safe.
How Do I Protect My Cabinet From Moisture Damage?
What's the point of a beautiful cabinet makeover if it's vulnerable to moisture damage? To safeguard your investment, apply waterproof coatings and implement humidity control measures to guarantee a durable, long-lasting finish that withstands the test of time.
Are There Any Eco-Friendly Cabinet Refinishing Options?
When seeking eco-friendly cabinet refinishing options, consider sustainable finishes like plant-based polyurethanes, low-VOC paints, and natural waxes. These environmentally responsible materials guarantee a safe, healthy, and aesthetically pleasing refinish that aligns with your values and promotes a greener home.
Can I Replace My Cabinet Hardware With Vintage Pieces?
When hardware hunting for unique accents, consider embracing vintage vibes by repurposing antique pieces or scouring flea markets for one-of-a-kind finds, ensuring a safe and stylish swap that elevates your cabinet's character.
How Long Does a Typical Cabinet Makeover Project Take?
When planning a cabinet makeover, consider the project timeline, which typically ranges from a few days to several weeks, depending on the scope and labor costs, ensuring a safe and efficient transformation that meets your aesthetic and functional goals.
Related Posts
-

7 Essential Tips for Pot and Pan Storage
You're tired of digging through a cluttered kitchen for the right pot or pan, and frustrated with the scratches and d...
-

Stockpile Essentials: Must-Have Items for Home
I keep my home stocked with essentials to avoid last-minute trips and guarantee smooth daily operations. I prioritize...
-

Revolutionize Your Kitchen With Sink Upgrades
Revamp your kitchen by enhancing your sink with thoughtfully chosen accessories, transforming it into a multitasking ...


