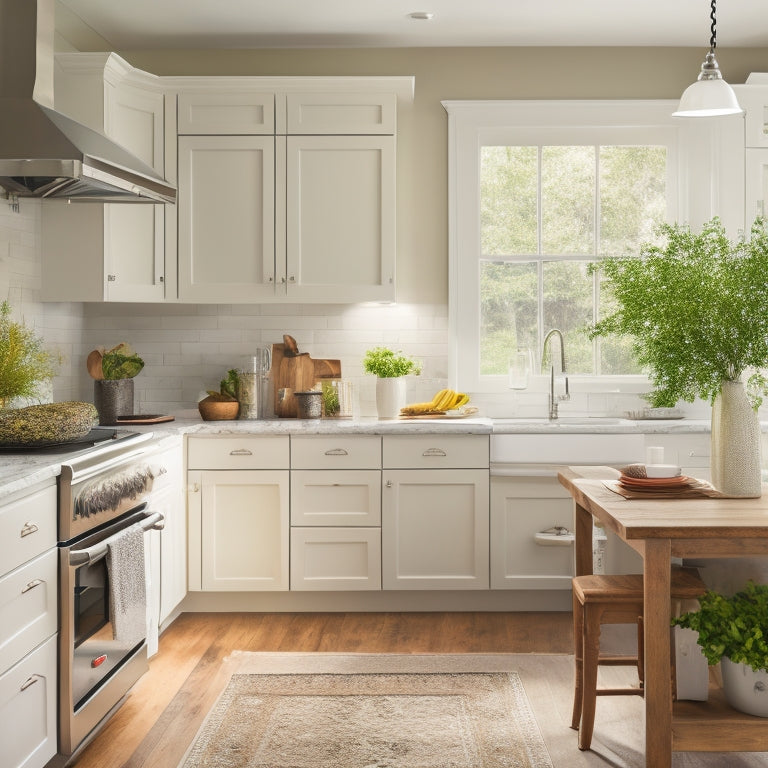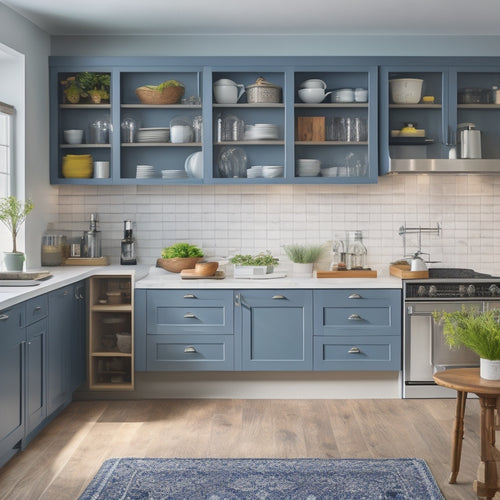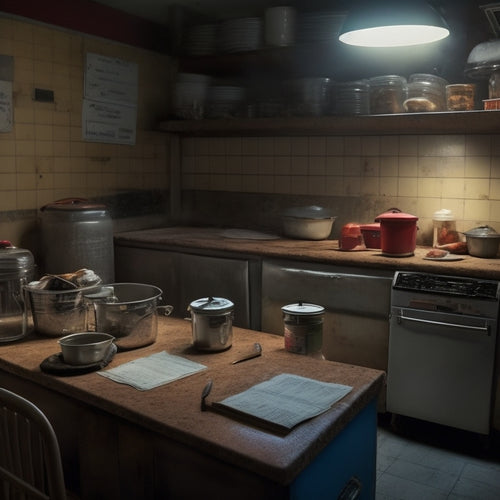
What's the Secret to a Clutter-Free Kitchen?
Share
You're ready to transform your kitchen into a clutter-free haven. Start by categorizing your utensils by function, purging duplicates and unnecessary items, and assigning a home for each remaining tool. Utilize vertical storage space, choose storage containers that fit your needs, and label everything for clarity. Store heavy items below counters, and establish a maintenance routine to keep your kitchen organized long-term. By following these steps, you'll be cooking up a storm in no time. Now, take the next step towards a kitchen that truly supports your culinary creations.
Key Takeaways
• Remove unnecessary items by categorizing utensils, eliminating duplicates, and purging non-functional items to create a clutter-free kitchen.
• Organize utensils by function, assigning specific spots for each category to enhance meal preparation efficiency and reduce clutter.
• Utilize vertical storage space efficiently by installing shelves, hooks, or pegboards to maximize wall space and keep items within easy reach.
• Implement a maintenance routine, including daily habits and scheduled tasks, to ensure long-term organization and functionality.
• Label containers and storage spaces clearly and consistently to enable easy identification and access to kitchen items.
Assess Your Kitchen Utensils
Take everything out of your kitchen drawers and cabinets to get a good look at the utensils you've accumulated over time. This is the first step in creating a clutter-free kitchen. You'll be surprised at how many duplicates and unnecessary items you've collected.
As you sort through your utensils, categorize them into groups like baking, cooking, and serving. This will give you a clear picture of what you have and what you need.
Next, identify your kitchen essentials – the items you use regularly. These might include a chef's knife, cutting board, pots, and pans. Consider the utensils that are in good condition and still useful. These will form the foundation of your Utensil Organization system.
Set aside items that are broken or no longer serve a purpose – we'll deal with those later. For now, focus on the essentials that will help you cook and prepare meals efficiently.
Purge Unnecessary Items First
You're about to tackle the most essential step in achieving a clutter-free kitchen: purging unnecessary items.
It's time to be ruthless and get rid of items that are no longer serving a purpose.
Start by identifying duplicates and broken items that are taking up valuable space in your kitchen.
Get Rid of Duplicates
Duplicates of kitchen items, such as multiple sets of measuring cups or an abundance of wooden spoons, are likely cluttering your kitchen countertops and cabinets. You might be holding onto them because you think you need them, but let's be honest, you don't. It's time to get rid of the duplicates and simplify your kitchen.
Take a closer look at your kitchen habits and identify the items you use regularly. Be honest with yourself - if you haven't used it in the past month, you probably won't miss it.
Don't make duplicate excuses, like 'I might need it someday' or 'It was a gift.' If you have multiple items serving the same purpose, keep only your favorite or the one in the best condition.
Toss Broken Items
Get rid of broken or non-functional kitchen items that are merely taking up valuable space and collecting dust. You know, those Broken Appliances that no longer serve a purpose, or Forgotten Gadgets that haven't been used in ages.
Be honest with yourself - are you really going to fix that blender or toaster that's been sitting on the counter for months? Probably not. It's time to let them go.
Take everything out of your cabinets and drawers, and sort items into three piles: keep, donate/sell, and toss. Be ruthless - if it's broken, it's going in the trash. Don't hold onto something just because you feel guilty about wasting money or because you think you might need it someday. You won't.
Categorize Utensils by Function
Organize your utensils into functional categories, such as baking, cooking, and serving, to create a logical and accessible system. This approach helps you find what you need quickly and efficiently. By grouping similar items together, you'll reduce clutter and make meal prep a breeze.
Create Utensil Categories that make sense for your cooking habits. For example, designate a zone for baking utensils like whisks, spatulas, and measuring cups. Cooking utensils like tongs, spoons, and spatulas can have their own zone. Serving utensils like serving spoons, forks, and knives can be categorized together. This system allows you to focus on the task at hand, rather than searching for a specific tool.
Within each category, arrange items in a way that makes sense to you. You can organize by frequency of use, size, or type. For instance, you might place your most-used baking utensils in an easy-to-reach spot.
Assign a Home for Each Item
Assign a Home for Each Item
Now that you've categorized your utensils by function, designate a specific spot for each item within its category, ensuring everything has a designated home where it can be easily retrieved and returned. This will help maintain order and make cooking more efficient. Think of it as creating designated zones within your kitchen, where each zone serves a specific purpose.
Here's an example of how you can assign homes for your utensils:
| Category | Item | Designated Home |
|---|---|---|
| Baking | Whisk | Top drawer, left side |
| Cooking | Spatula | Middle drawer, right side |
| Prep | Cutting Board | Countertop, near sink |
| Cooking | Saucepan | Lower cabinet, left side |
| Baking | Measuring Cups | Top shelf, near oven |
Utilize Vertical Storage Space
Now that you've assigned a home for each item, it's time to make the most of your kitchen's vertical space.
You'll be amazed at how much more organized your kitchen can be when you use walls and cabinet tops to your advantage.
Maximize Wall Space
By installing shelves, hooks, or a pegboard on your kitchen walls, you'll be able to reclaim valuable counter space and keep frequently used items within easy reach. This is especially useful for small kitchens where every inch counts.
To maximize wall space, consider the following tips:
-
Add a pegboard: Install a pegboard on a kitchen wall and hang frequently used items like utensils, pots, and pans. This will keep them organized and easily accessible.
-
Use shelf liners: Add shelf liners to your wall shelves to prevent items from slipping or falling. This will also make cleaning easier.
-
Incorporate wall decals: Add decorative wall decals to your kitchen walls to create a visually appealing space. Choose decals that match your kitchen's theme and style.
- Install adjustable shelves: Install adjustable shelves that can be moved up or down to accommodate items of different sizes. This will make sure you're making the most of your wall space.
Optimize Cabinet Height
You can further enhance your kitchen's storage capacity by optimizing cabinet height, maximizing the vertical space available to you. To do this, take precise cabinet measurements to identify the ideal shelf spacing for your specific needs. Consider the size of your cookware, dinnerware, and appliances to determine the most efficient shelf configuration.
Adjust your shelves accordingly, ensuring that each one is tailored to the items you'll be storing. For instance, reserve the top shelves for infrequently used or bulky items, while assigning middle shelves to everyday essentials. By strategically allocating your cabinet space, you'll be able to store more items without compromising accessibility.
Additionally, consider installing adjustable shelves or shelf dividers to maximize flexibility and accommodate changing storage needs. By optimizing your cabinet height, you'll create a more organized, clutter-free kitchen that makes meal prep and cooking a breeze.
With a little planning and precision, you can tap into the full storage potential of your cabinets and create a kitchen that truly feels like your own.
Hang Frequently Used
Take advantage of your kitchen's vertical space by hanging frequently used items like pots, pans, utensils, and even spices, keeping them easily accessible and freeing up cabinet space for less frequently used items. This won't only declutter your countertops but also make your daily cooking routine more efficient.
Here are some ways to maximize your kitchen's vertical space:
-
Install hook storage: Hang pots, pans, and utensils from hooks, making them easily accessible and saving cabinet space.
-
Use a pot rack: Suspend a pot rack from the ceiling or a wall, storing frequently used cookware and keeping it out of the way.
-
Hang a spice rack: Keep your spices organized and within reach by hanging a spice rack on a wall or the back of a cabinet door.
- Utilize the back of a door: Take advantage of the often-wasted space on the back of a door by hanging a storage rack or hooks for daily access to items like kitchen towels, utensils, or even a trash bag.
Choose the Right Storage Containers
Selecting the right storage containers is vital to maximizing your kitchen's storage capacity and maintaining a clutter-free space. When choosing containers, consider the materials they're made of. You'll want durable, easy-to-clean options that can withstand the rigors of daily use. Glass, stainless steel, and BPA-free plastic containers are great choices. They're not only functional but also visually appealing, which is important for creating a sense of harmony in your kitchen.
Aesthetic alignment is also essential. Choose containers that complement your kitchen's style and color scheme. If you have a modern kitchen, sleek, minimalist containers might be the way to go. For a more traditional or rustic look, consider containers with a distressed finish or ornate details.
Label Everything for Clarity
By assigning a clear label to each container, you'll make certain that everyone in the household can easily identify what's inside, eliminating the guesswork that can lead to clutter and disorganization. This simple step can transform your kitchen into a haven of efficiency and calm.
To take your labeling game to the next level, consider the following tips:
-
Choose a consistent label design that resonates with your personal style, ensuring a cohesive look throughout your kitchen.
-
Use color coding to categorize similar items, such as baking supplies or snack items, making it easy to locate what you need at a glance.
-
Keep labels concise and focused on the essentials, avoiding cluttered labels that can be overwhelming.
- Update labels as needed, ensuring that your labels remain relevant and accurate over time.
Store Heavy Items Below Counters
You'll find it's often more practical to store your heavy items, like pots and pans, below counters where they're easily accessible but won't weigh down your countertops. This simple strategy helps maintain a clutter-free kitchen by keeping your countertops clear and creating more floor traffic.
By storing heavy items below, you'll have more countertop space for food preparation and cooking. Plus, you'll reduce the risk of accidents caused by heavy objects falling from above.
When organizing your below-counter storage, consider using slide-out drawers or shelves to make it easy to access your heavy items. This will save you time and energy in the long run.
Additionally, store your most frequently used items in the front and easiest-to-reach locations, so you can quickly grab what you need without having to dig through everything.
Maintain Your Organized System
Your newly organized kitchen requires regular upkeep to make sure it stays clutter-free and functional. To maintain your organized system, you'll need to establish daily habits and maintenance routines that become second nature.
Here are some tips to help you get started:
-
Clean as you go: Wipe down countertops, sinks, and stoves after each meal to prevent crumbs and spills from building up.
-
Designate a 'launching pad': Choose a specific spot, like a tray or bin, where you'll place items that need to be put away later, like keys or mail.
-
Schedule weekly maintenance: Set aside 30 minutes each week to tackle deeper cleaning tasks, like scrubbing the oven or reorganizing your pantry.
- Conduct a monthly inventory: Take stock of your kitchen's contents and get rid of anything expired, broken, or no longer needed.
Frequently Asked Questions
How Do I Handle Sentimental Items That I Don't Use Often?
Did you know 1 in 5 people feel anxious about parting with sentimental items? You can create a "Memory Box" for select heirlooms, then consider a gentle "Heirloom Purge" to free up space, keeping memories close while letting go of clutter.
Can a Clutter-Free Kitchen Be Achieved in a Small Space?
You can create a clutter-free kitchen in a small space by embracing Space Savers and Compact Design. Opt for multi-functional appliances, wall-mounted shelves, and clever storage solutions to maximize your kitchen's potential.
How Do I Keep My Kitchen Organized With Multiple Users?
"Crafting calm in shared spaces, you'll create a personalized haven by setting up user profiles, assigning tasks, and designating zones, ensuring each cook contributes to a harmonious, clutter-free kitchen that feels like home."
Are There Any Eco-Friendly Storage Container Options Available?
You'll find eco-friendly storage container options that fit your values by looking for biodegradable containers made from sustainable materials like bamboo, recycled plastic, or plant-based bioplastics, which reduce waste and promote a guilt-free kitchen.
How Often Should I Reorganize My Kitchen to Maintain Clutter-Free Status?
Imagine Sarah, who hosts monthly dinner parties, reorganizing her kitchen every 3-4 months to maintain a clutter-free space. You should aim to do a seasonal purge, forming a habit of reassessing your kitchen's layout and contents to guarantee a smooth workflow.
Related Posts
-

Family Harmony Achieved: Doral Home Renovation Unveiled
We designed our Doral home renovation around a simple yet powerful idea: that a unified, open space can bring our fam...
-

Revamp Your Kitchen Storage With These Tips
A well-organized kitchen storage system is essential to a clutter-free and functional cooking space. To enhance your ...
-

Food Safety Inspections Uncover Startling Violations
Food safety inspections in local establishments have uncovered a disturbingly high number of critical violations, put...


